Repairing Damaged Earthbags
As I showed in the video last week, during our 9-month absence the partially finished earthbag house began to deteriorate in some places. This week the primary tasks were to repair some of that damage and prepare to continue our forward progress.
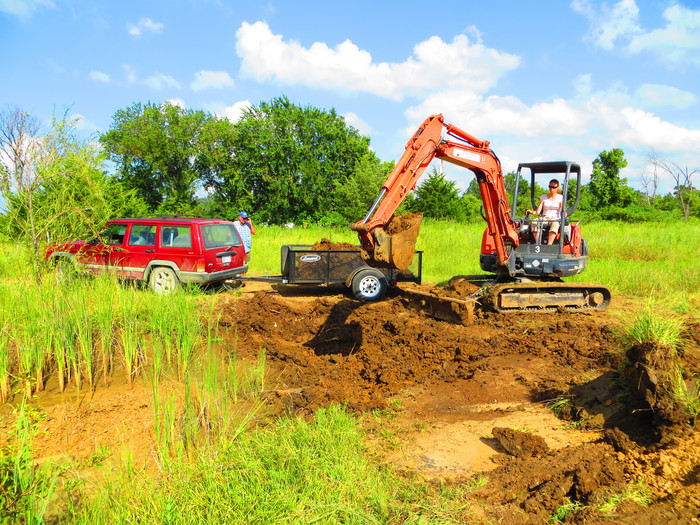
Keith rented a mini-excavator and dug some clay out of our pond, which we will use to mix with screenings and fill more earthbags for the rest of the walls. I operated the excavator for a while, too!
We pulled all the weeds that had grown inside the earthbag house and burned them up. We try to keep as much organic material out of the house as possible because in the future, when it decomposes, the space left could cause the floor to settle and become uneven in places.
Keith spent some time shoring up the gravel bags which had deteriorated due to sunlight (UV) exposure and were now disgorging their contents. We needed to stop this before it caused irreparable damage to all the hard work we have already done by ruining the structural integrity of the house.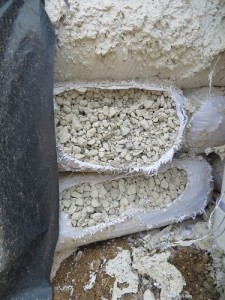
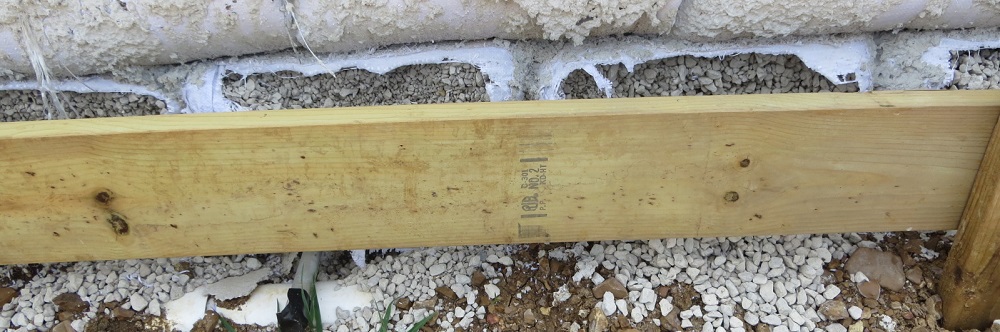
Keith drove stakes into the ground and put boards a few inches out from the bags, then filled in the space with gravel.
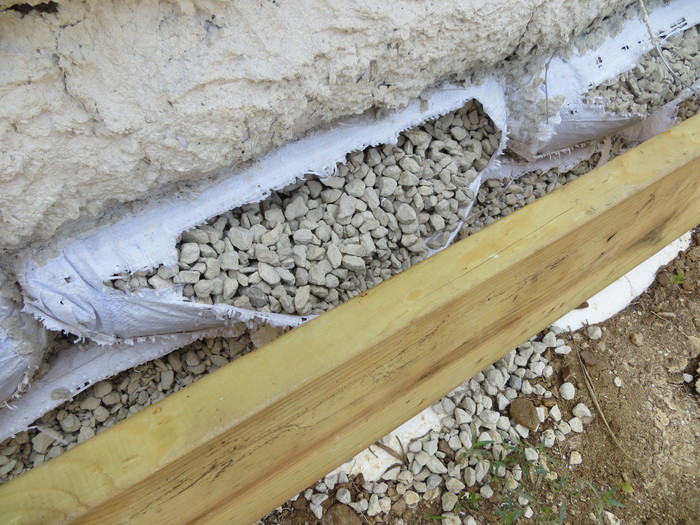

Eventually we will also have an earthen floor that will be higher than these gravel bags, which will stop them from spilling any more. At that point the boards can be removed.
Keith explained the repair work he is doing in this video:
The big lesson here is, if you need to stop construction on an earthbag house for several months, keep everything protected from the sun to prevent your walls from deteriorating and letting all that hard work go to waste!
More updates coming soon! Enter your email below if you want to follow along with our earthbag project.
Questions? Comments? Please share in the comment box below!
Enter your name and email to receive my newsletter and stay up to date!
We hate spam as much as you. Your email is safe with us.