
Papercrete
Papercrete? What’s that?
Papercrete is a mixture of paper and Portland cement. It has a light, spongy, airy feel and it’s a great insulating material!
We’ll be applying one to three inches of papercrete to the inside and outside walls of our entire earthbag structure. Because it can’t withstand the elements unprotected for long periods of time, we will eventually add a layer of lime plaster over the top of the papercrete. (Once we get to that point in our building process, I’ll tell you more about lime plaster.) This will protect the walls, while allowing them to breathe.
We covered most of our walls with it before going away for the winter, to protect the bags from UV radiation which would cause them to turn into confetti after a few months.
To make papercrete, we soak 18 pounds of newspaper in 25 gallons of water in a 55 gallon barrel.
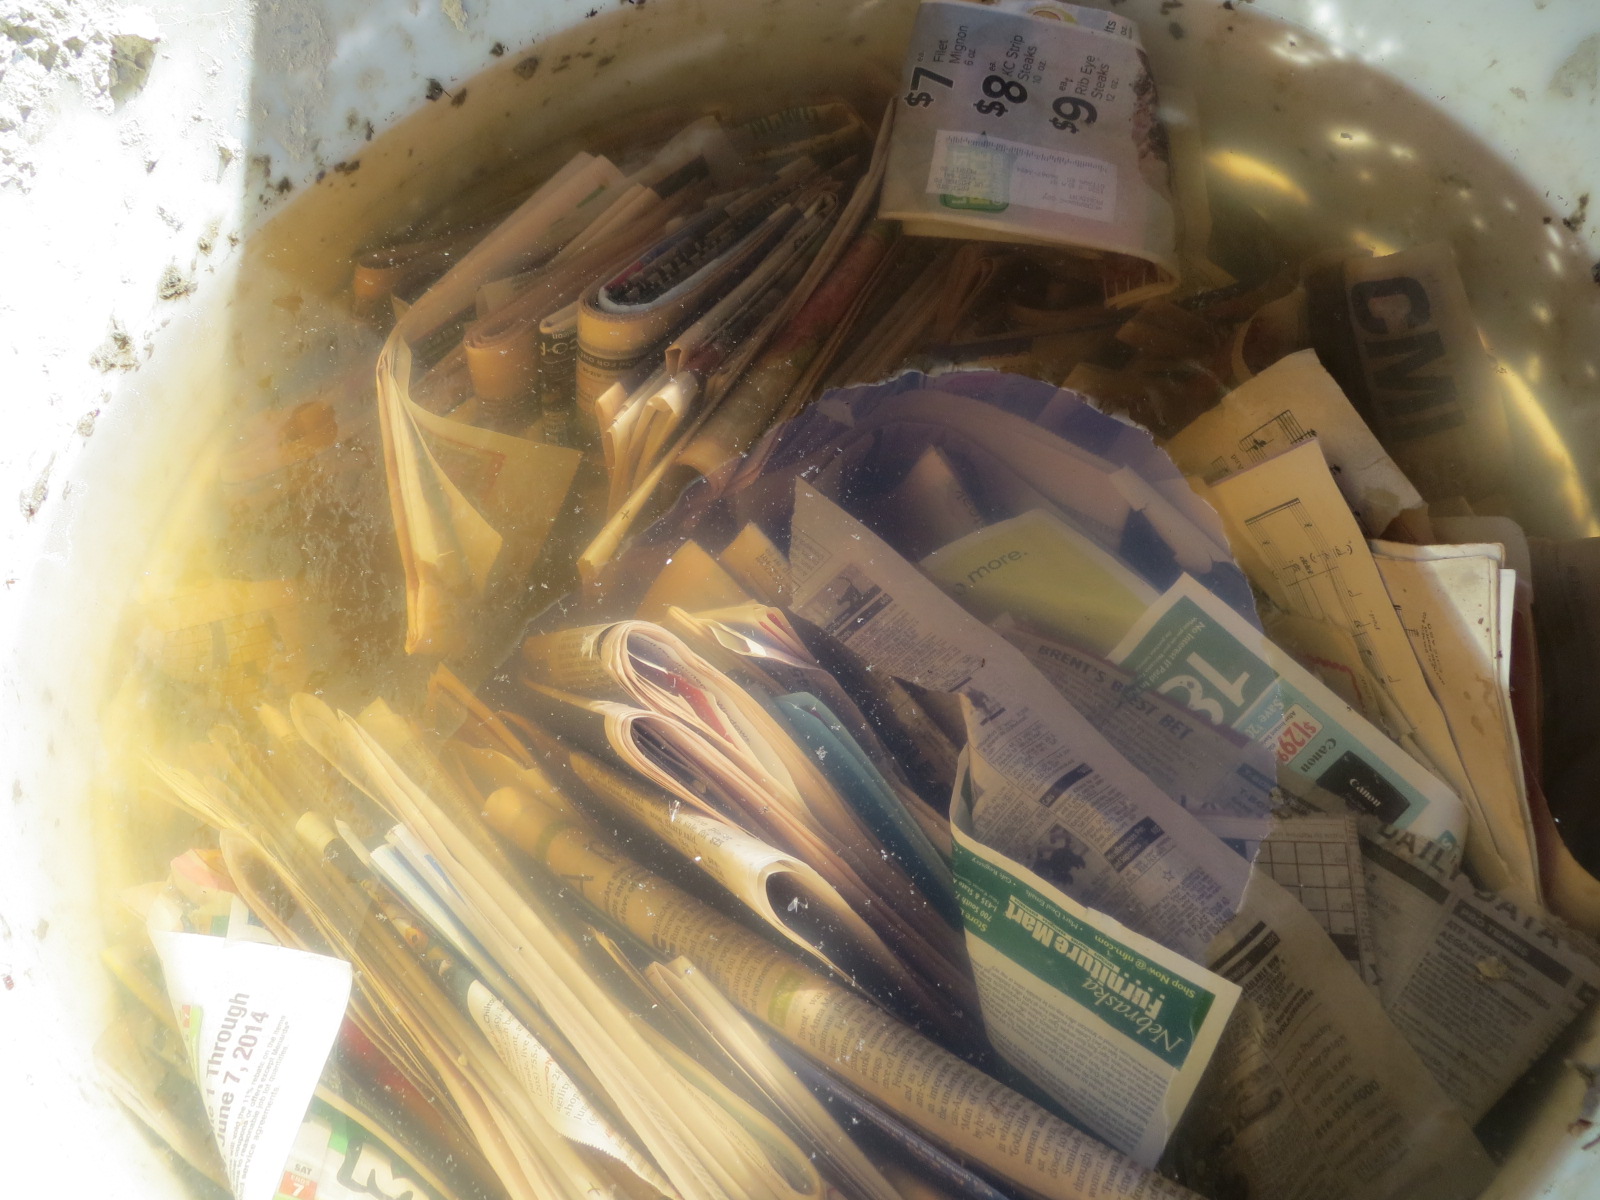
Once the paper is well saturated, we add 18 pounds of Portland cement and mix it all up into a goopy mush. This is pretty hard on one’s arms, which themselves begin to feel like mush after a few minutes of mixing! There is a way to make a giant mixer that you can tow behind a car, and we have the materials to put that together, so when we go back to work on the house this summer it should be easier! I’ll write a report on that mixer once we’ve built it.
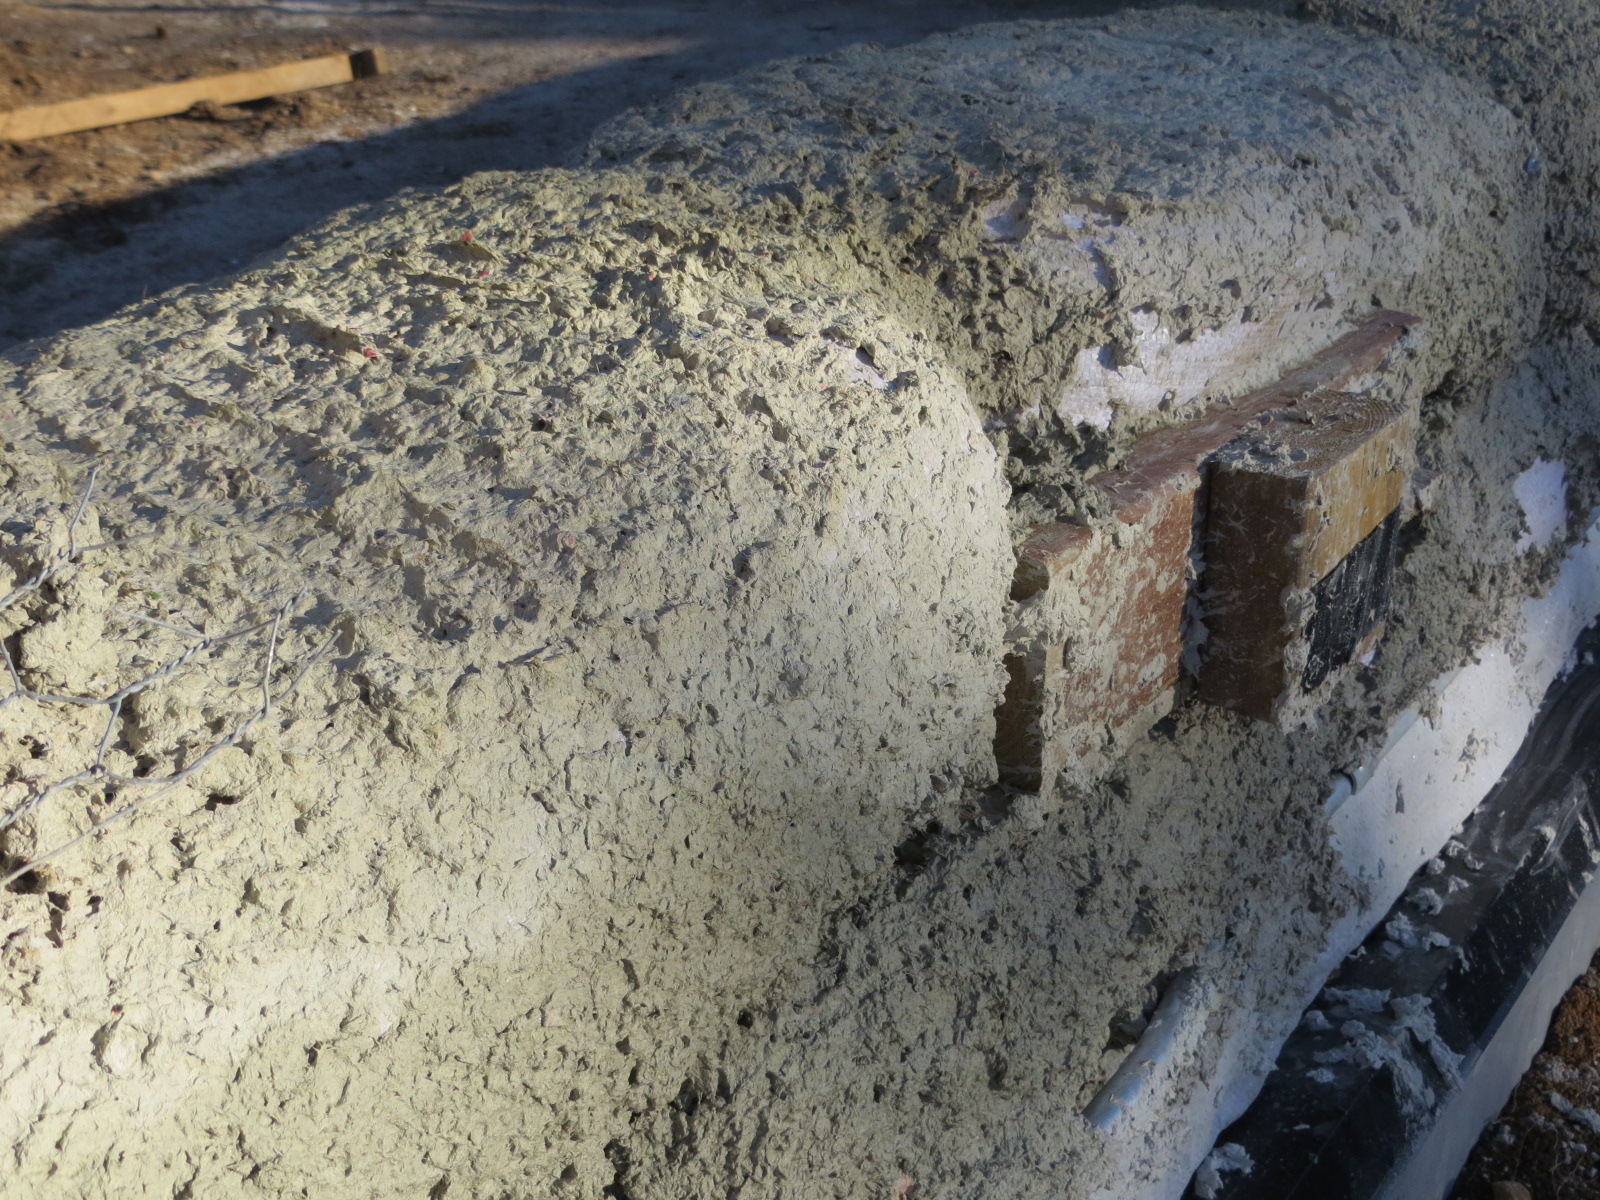
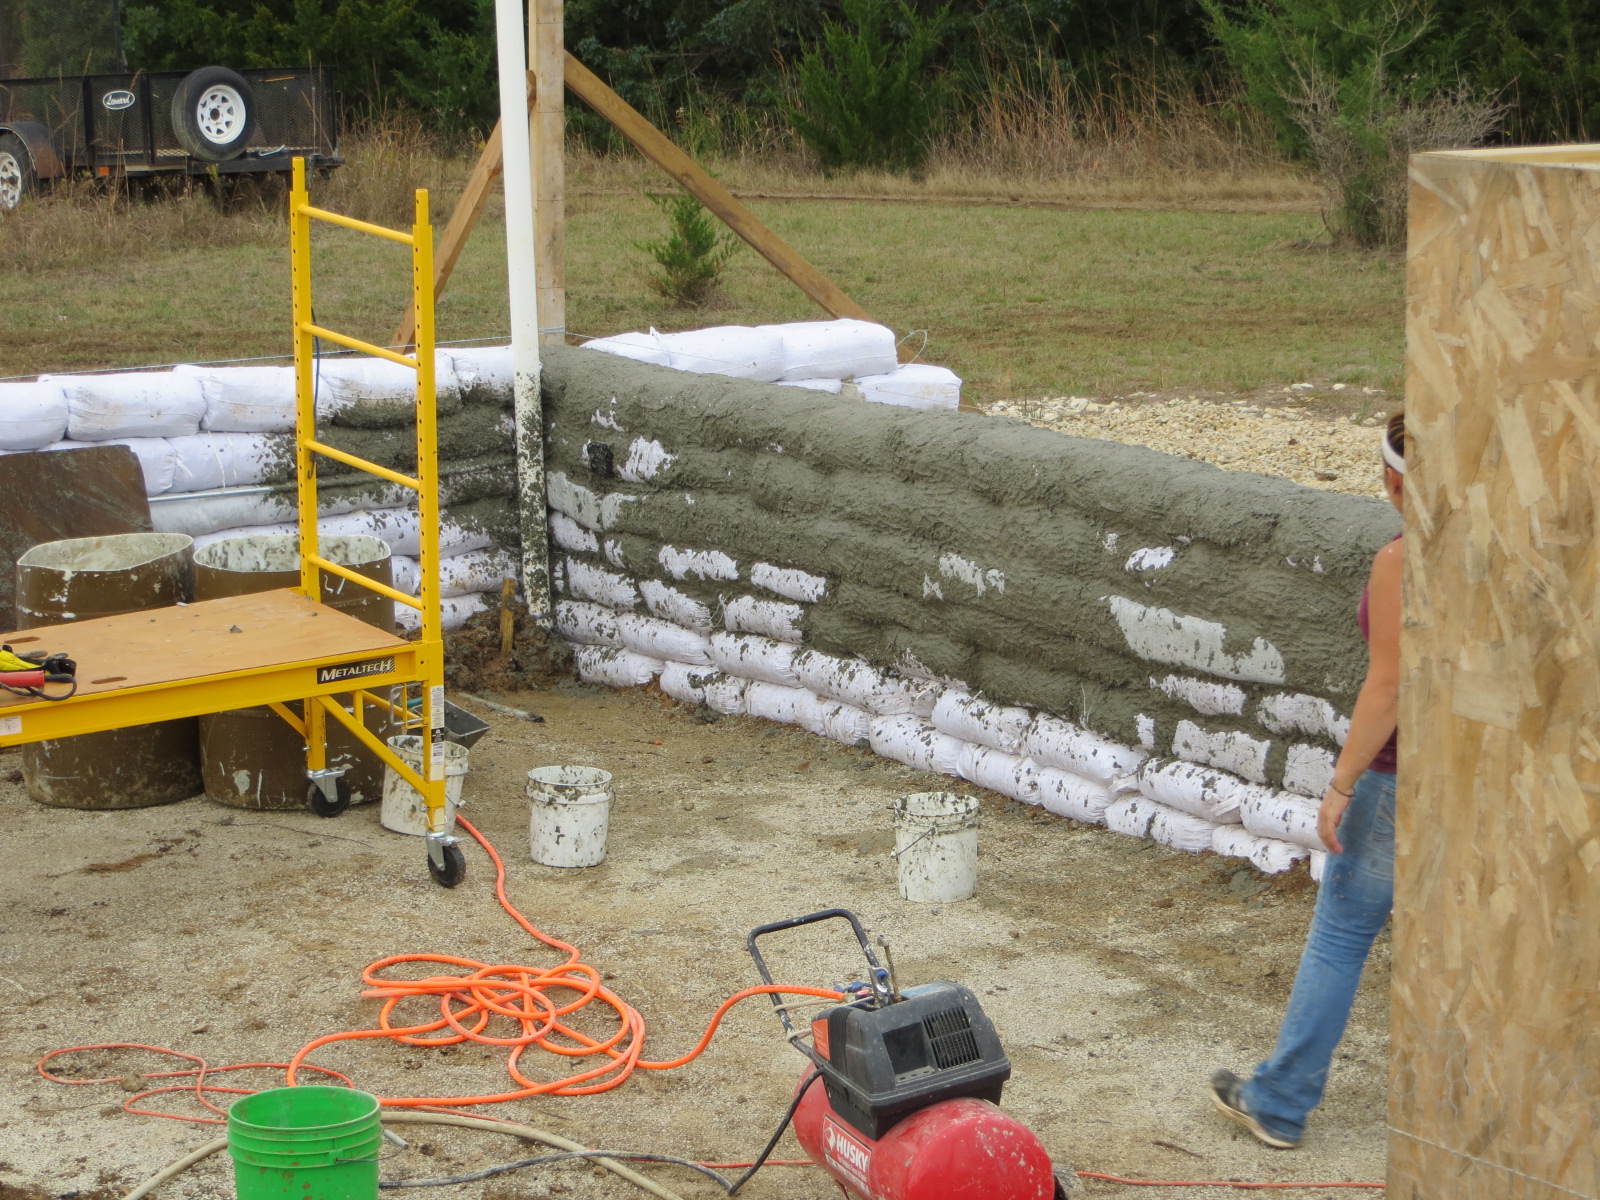
Once the consistency is right, you have to work with the papercrete right away before it starts drying out. The first step, when working with a bare earthbag wall, is to hurl handfuls of the mush into the cracks between the bags. It seems to stick better when you throw it, rather than pushing it in or trying to smear it on with a trowel, although once the first layer has dried a bit it becomes easier to push more papercrete in with your hands.

Once you have the cracks filled in and the wall is smoother, you can then use a mortar sprayer to quickly coat the entire wall in a layer of papercrete.
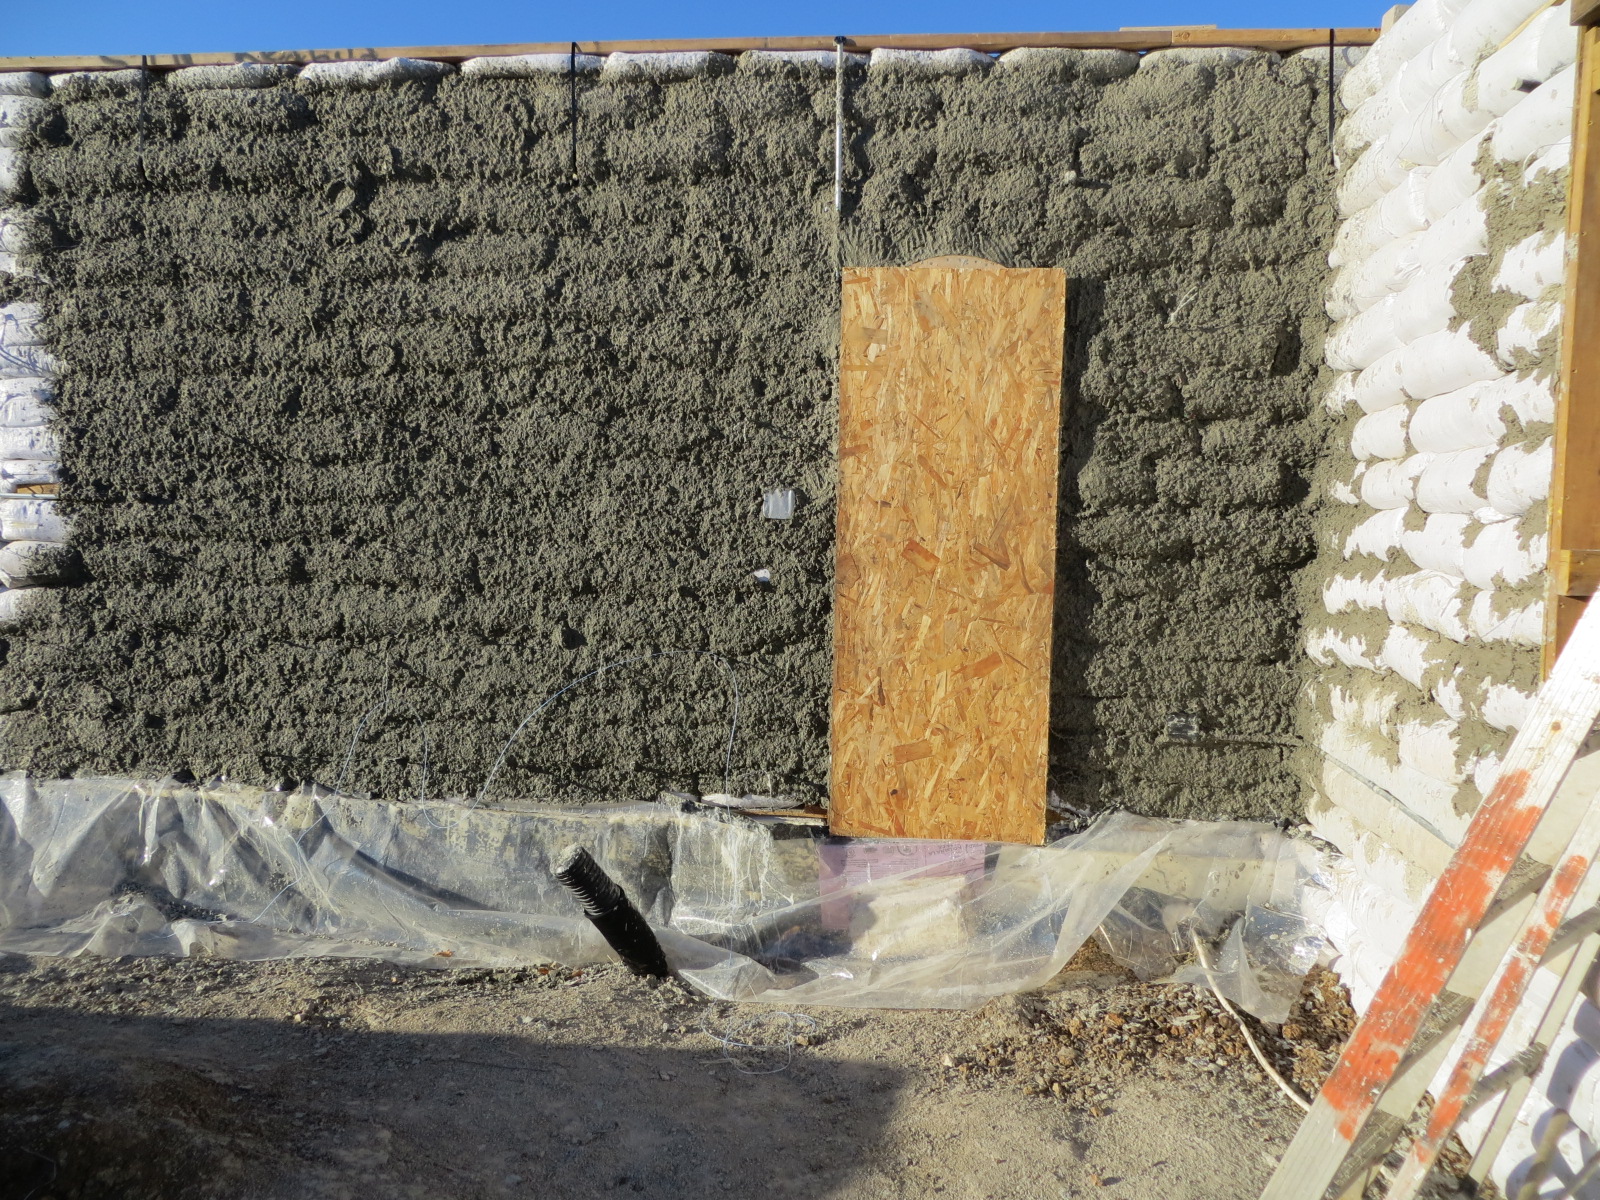
We have placed wire in strategic locations along our walls, so that after the first layer of papercrete is applied we can attach chicken wire to the wall for added strength, and apply more layers of papercrete. The more papercrete we have on the walls, the more insulated they will be.
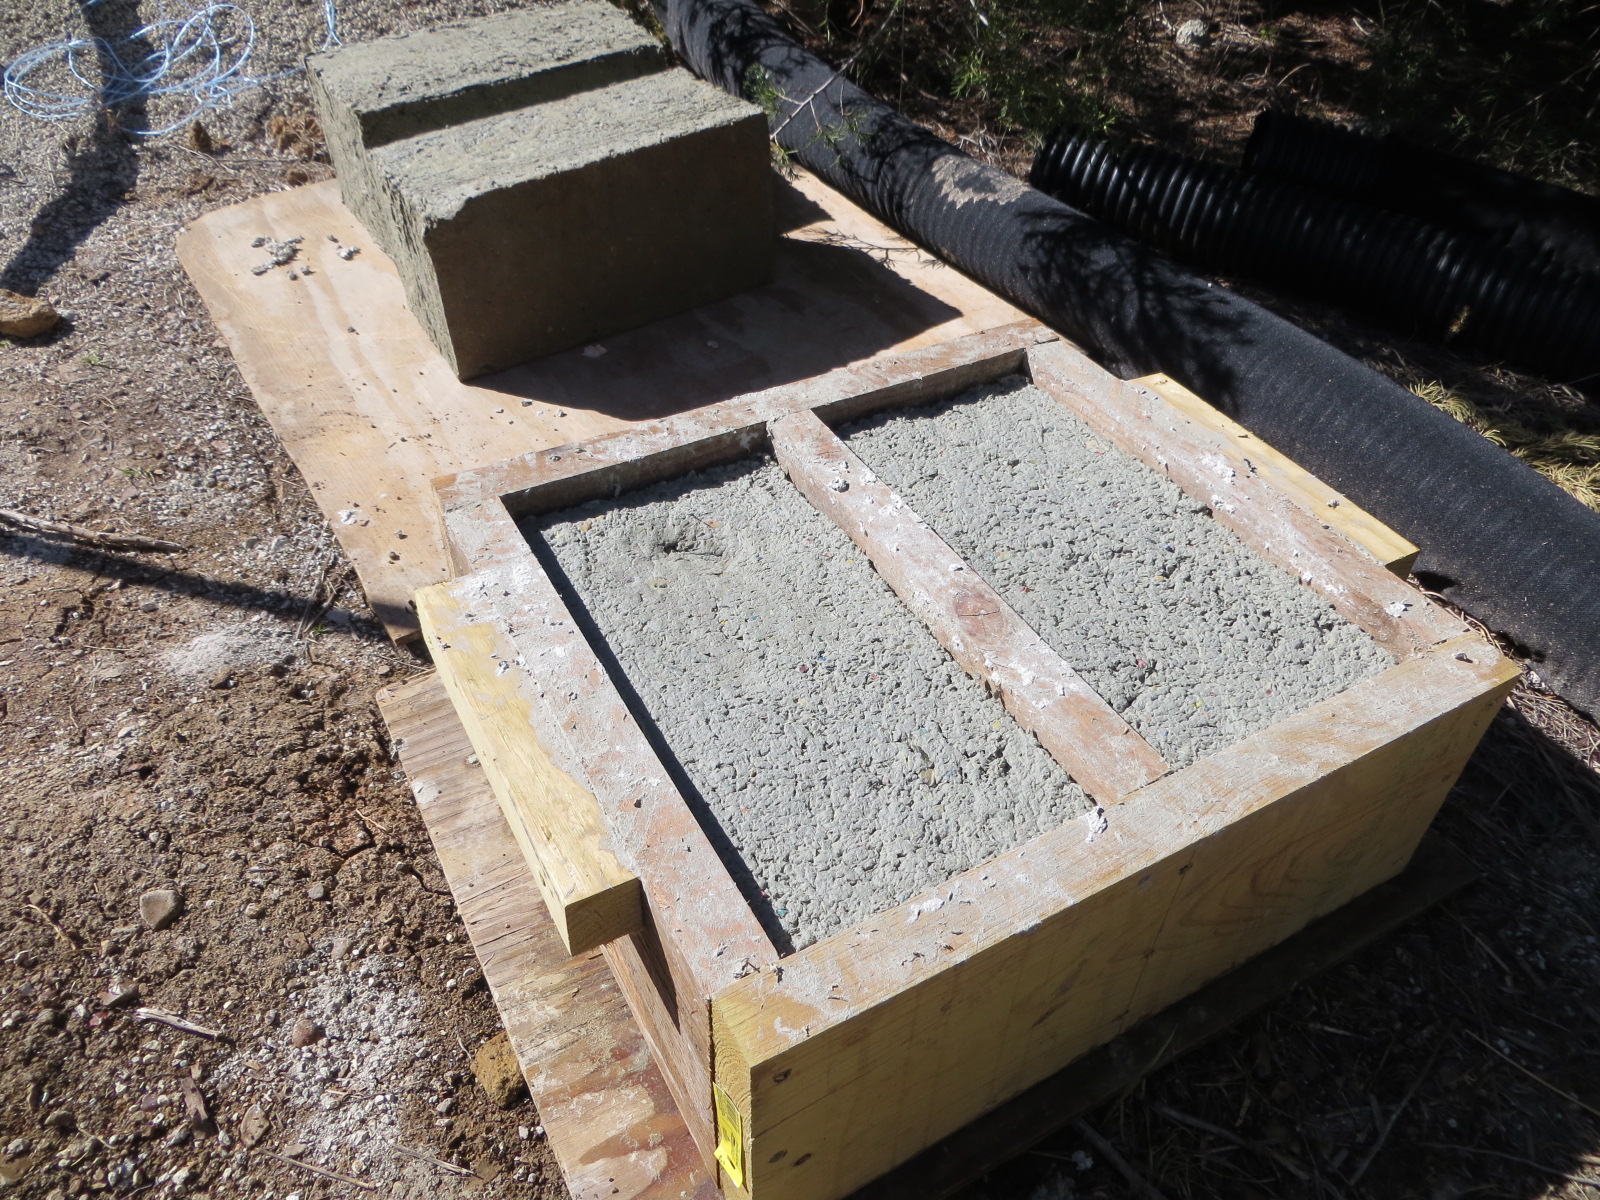
In addition to spraying papercrete onto our earthbag walls, we have also experimented with making papercrete bricks.
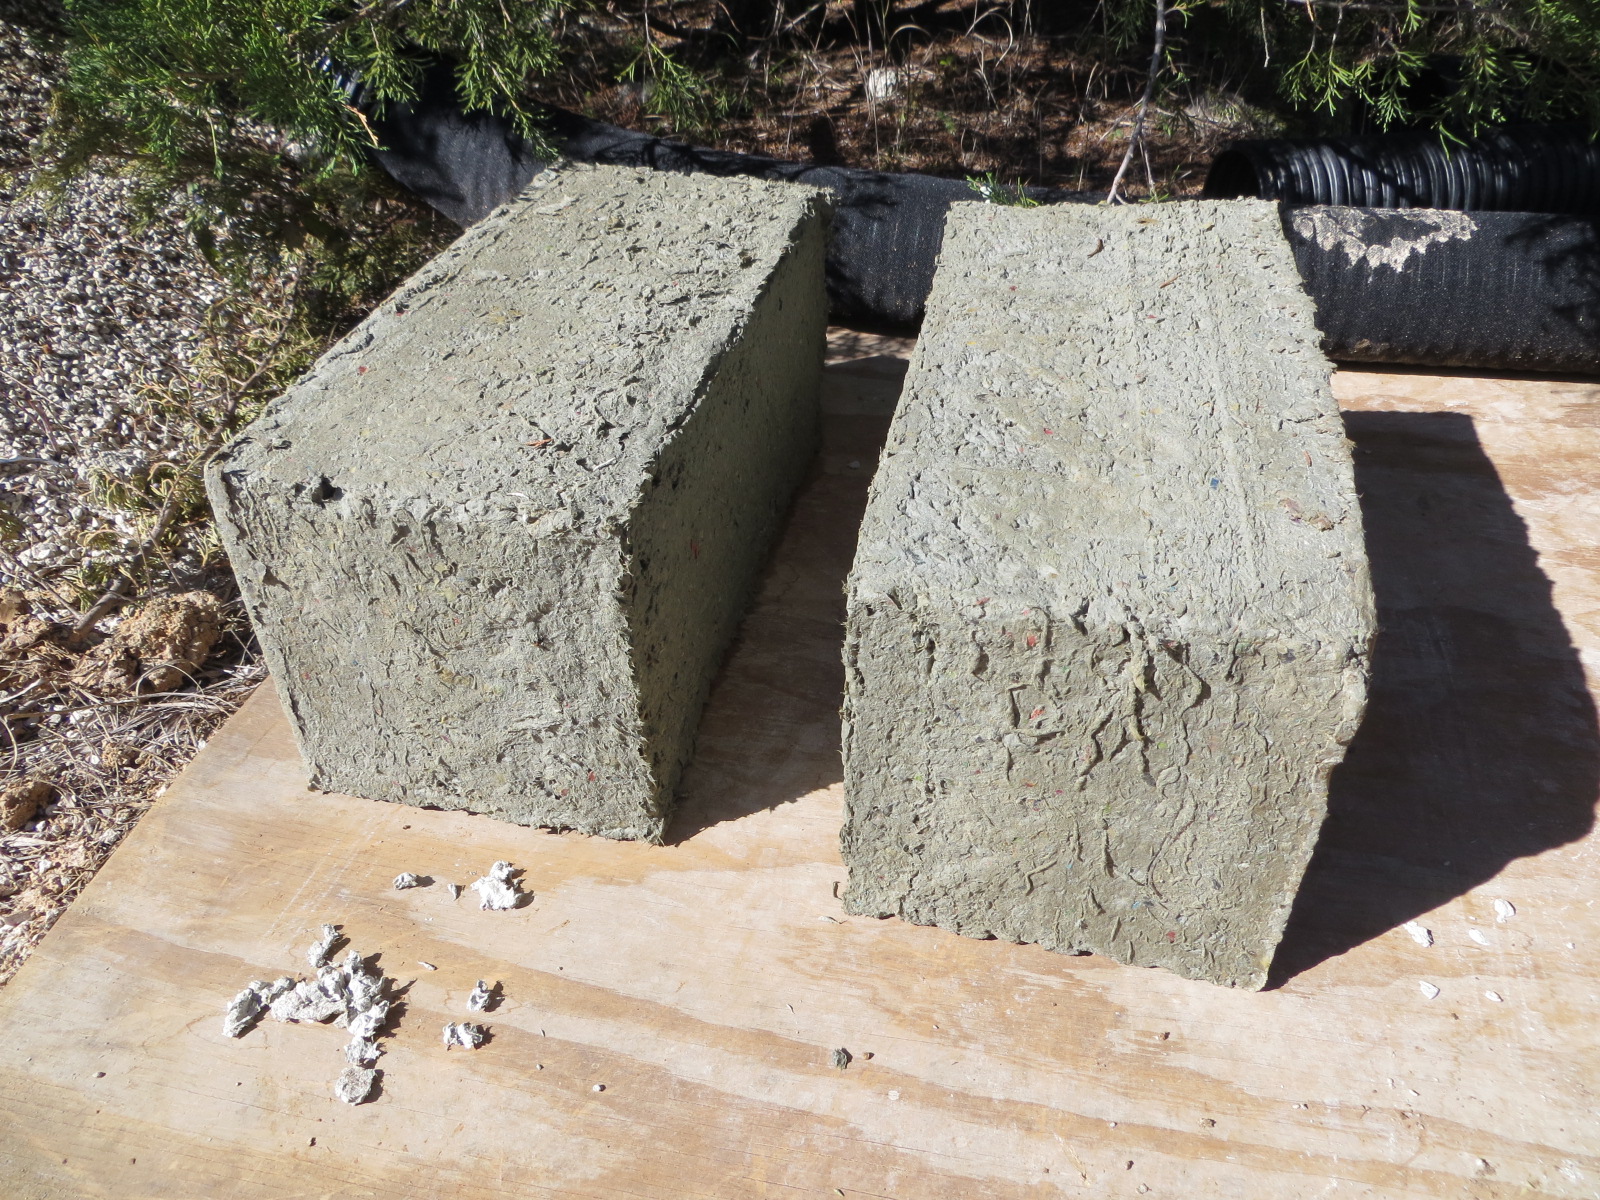
With papercrete, we can make any size or shape that we want–though the bigger stuff takes longer to dry and may fall apart if you get impatient and take it out of the mold too soon!
Check out this video, where Lee and Keith demonstrate the process of making papercrete:
If you enjoyed this post, enter your email below to sign up to our earthbag house updates!
Enter your name and email to receive my newsletter and stay up to date!
We hate spam as much as you. Your email is safe with us.