Earthbag House Project: Where We Left Off for the Winter
Many of my friends and readers who followed our earthbag house build last summer have asked, “So, how much did you get done before winter?” The short answer is “Lots, but not as much as we’d hoped.”
In this post I’ll share our final projects up until we wrapped things up just before Thanksgiving of 2014, and where we hope to pick up when we return this summer.
Originally we had hoped to have the main structure basically finished, including walls, roof and floor—and finished enough inside that it could be lived in by winter. As the summer progressed, our vision for the house scaled back bit by bit, as certain aspects of the build ended up consuming more time and funds than we had originally estimated.
The Obstacles
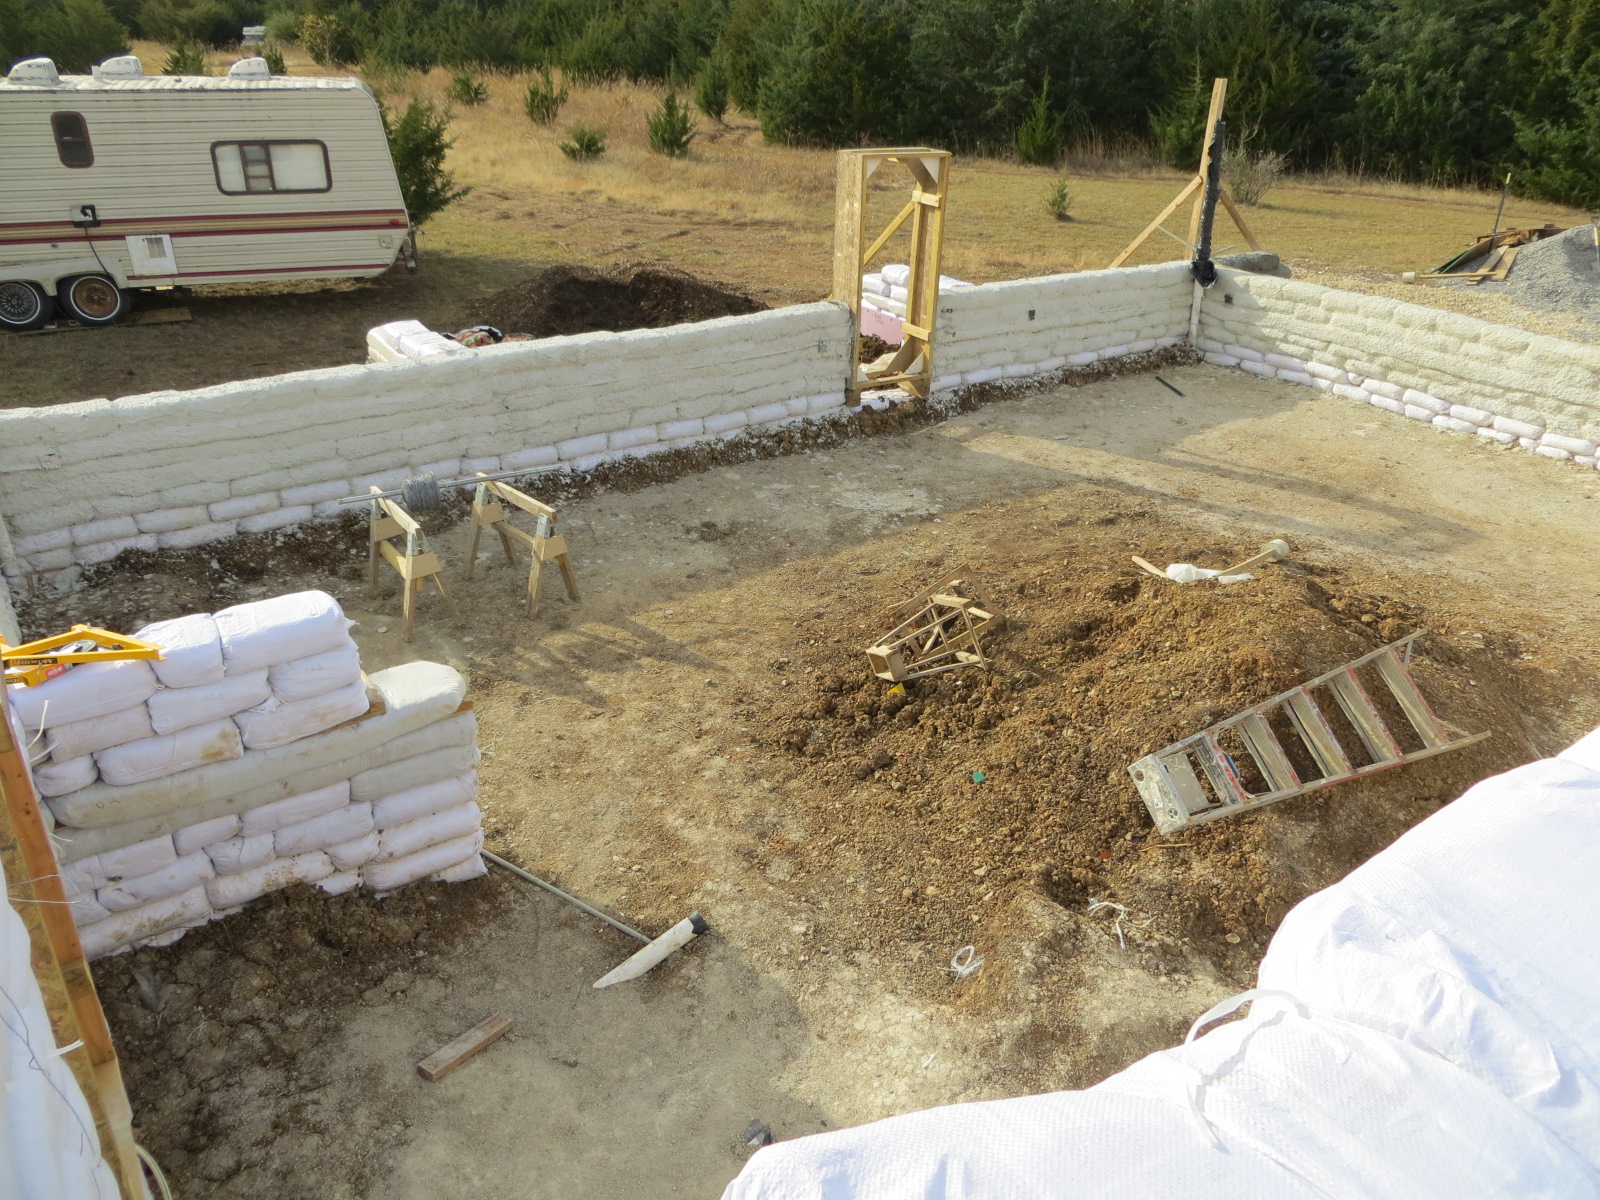
One aspect of the job that took a long time was the initial groundwork required to put in the water and electric lines, which stretched across several acres of property.
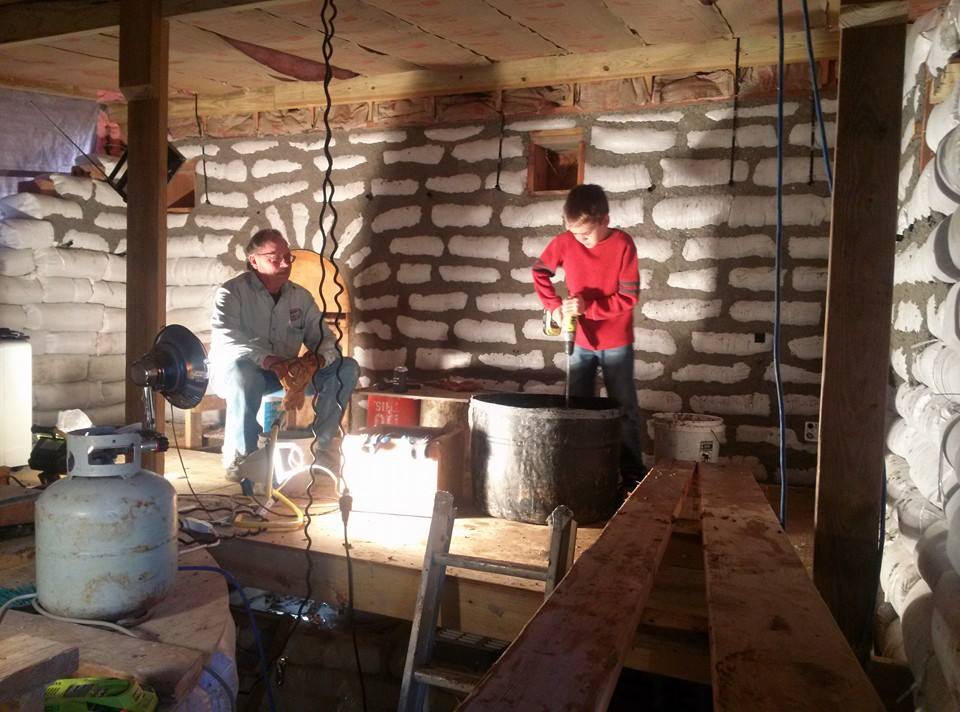
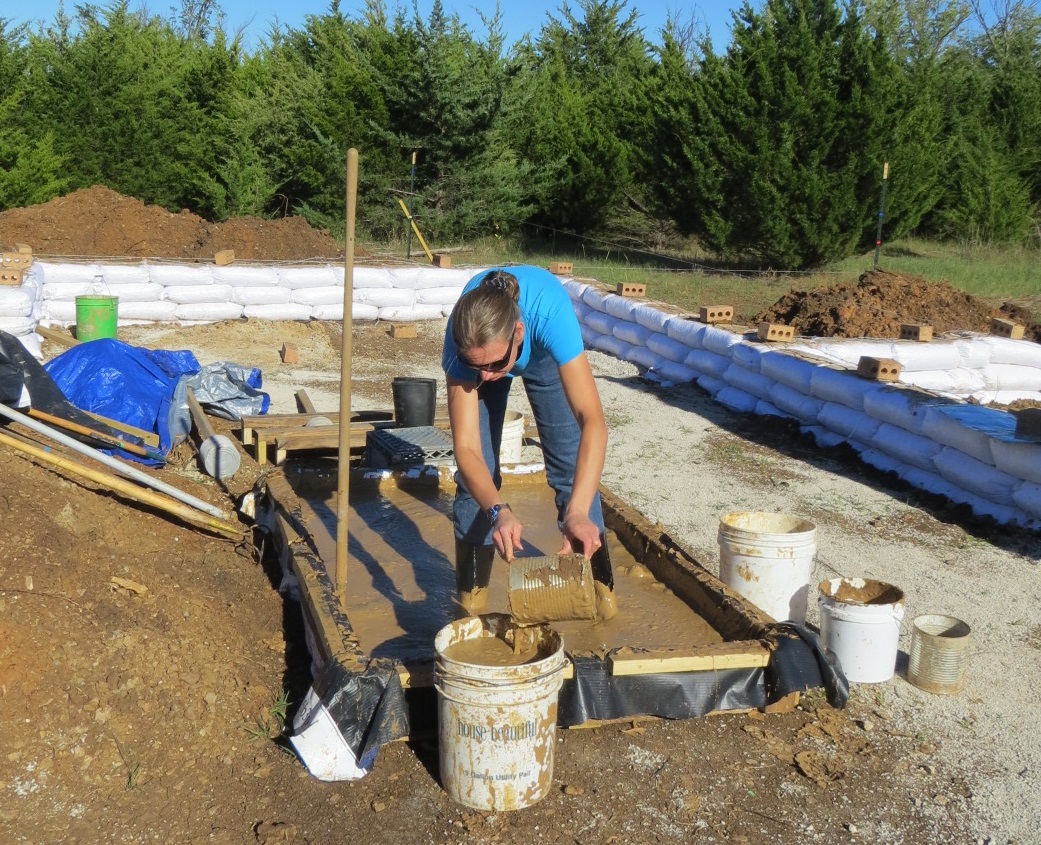 The main obstacle was the earth mixture itself. It requires a special combination of clay slip (mud) and screenings (crushed rock). We have lots of clay on the land, but as I shared in a prior post, it takes a long time to remove the rocks and roots from it and mix it into the milkshake consistency needed for the work. We had someone working the mud pits for many hours every day.
Once temperatures started to dip below freezing, this water-based work was forced to a halt.
Little by little, our original ambitions were tamed to the point of thinking about how we could protect the work we’d started before winter hit. We decided to focus our efforts on the utility room and rainwater cistern.
Protecting Our Work
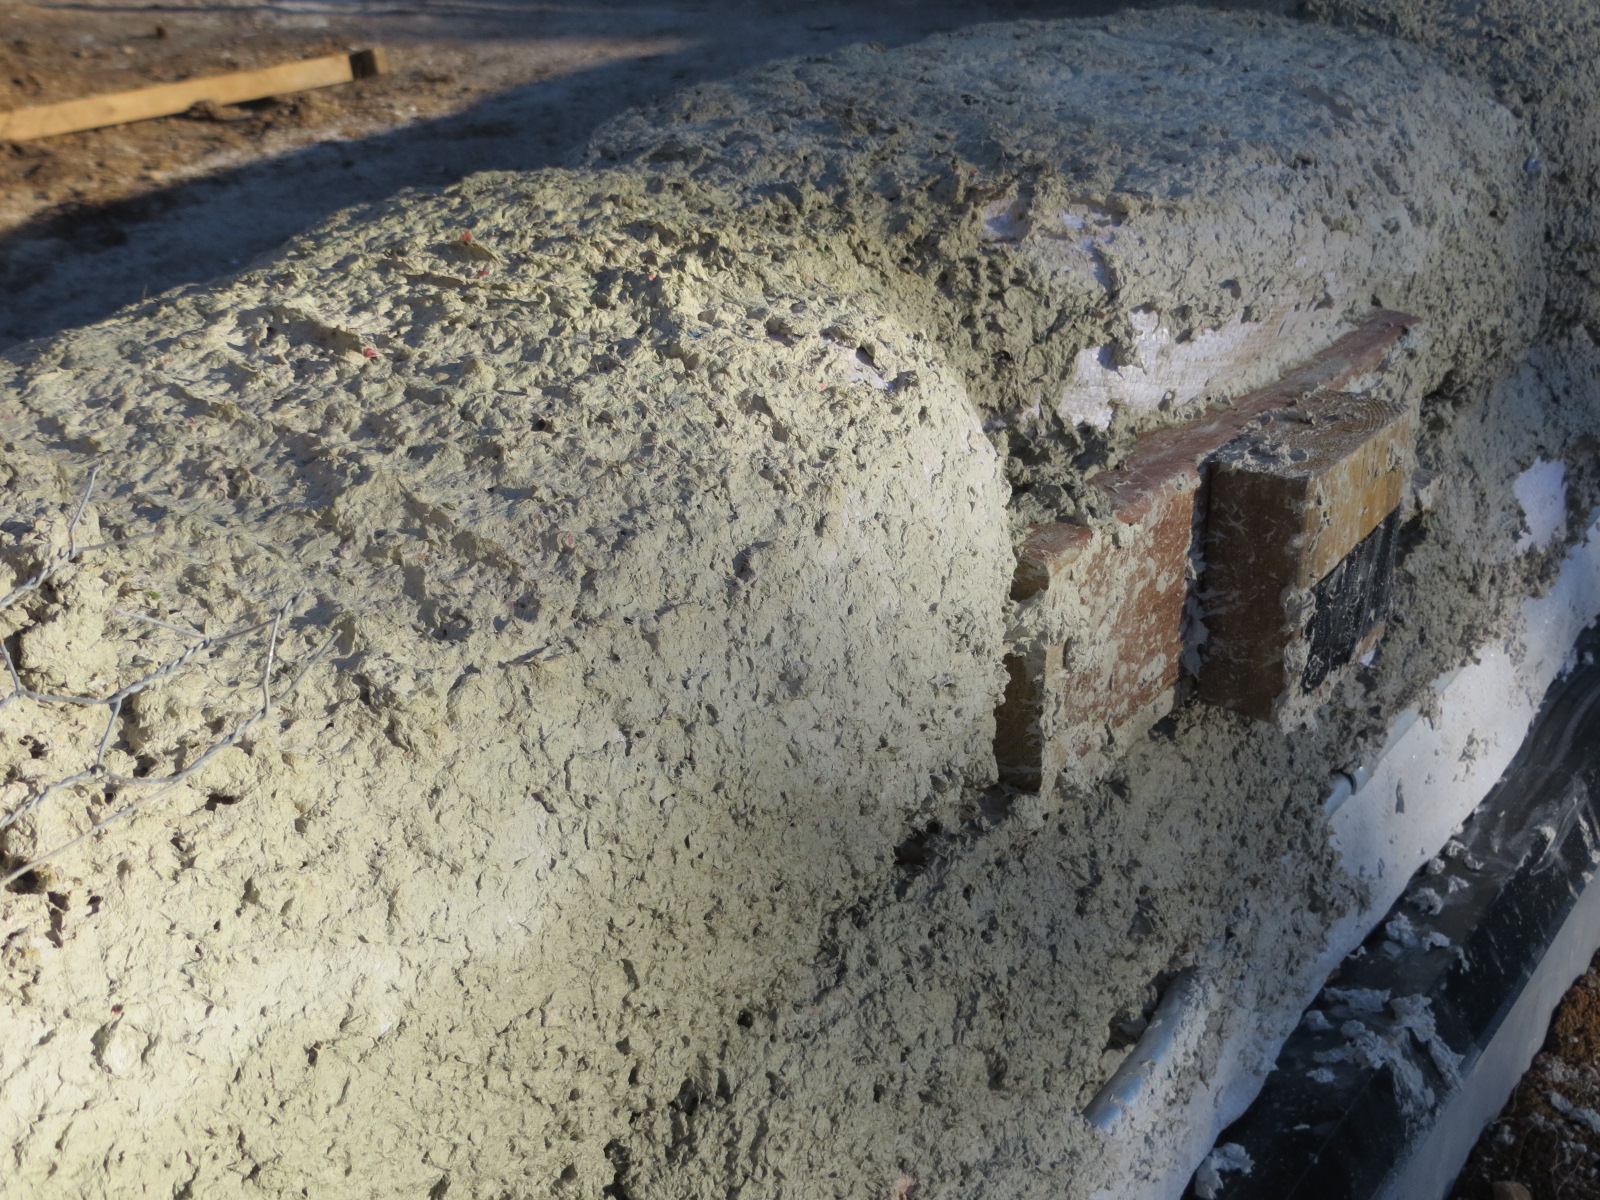
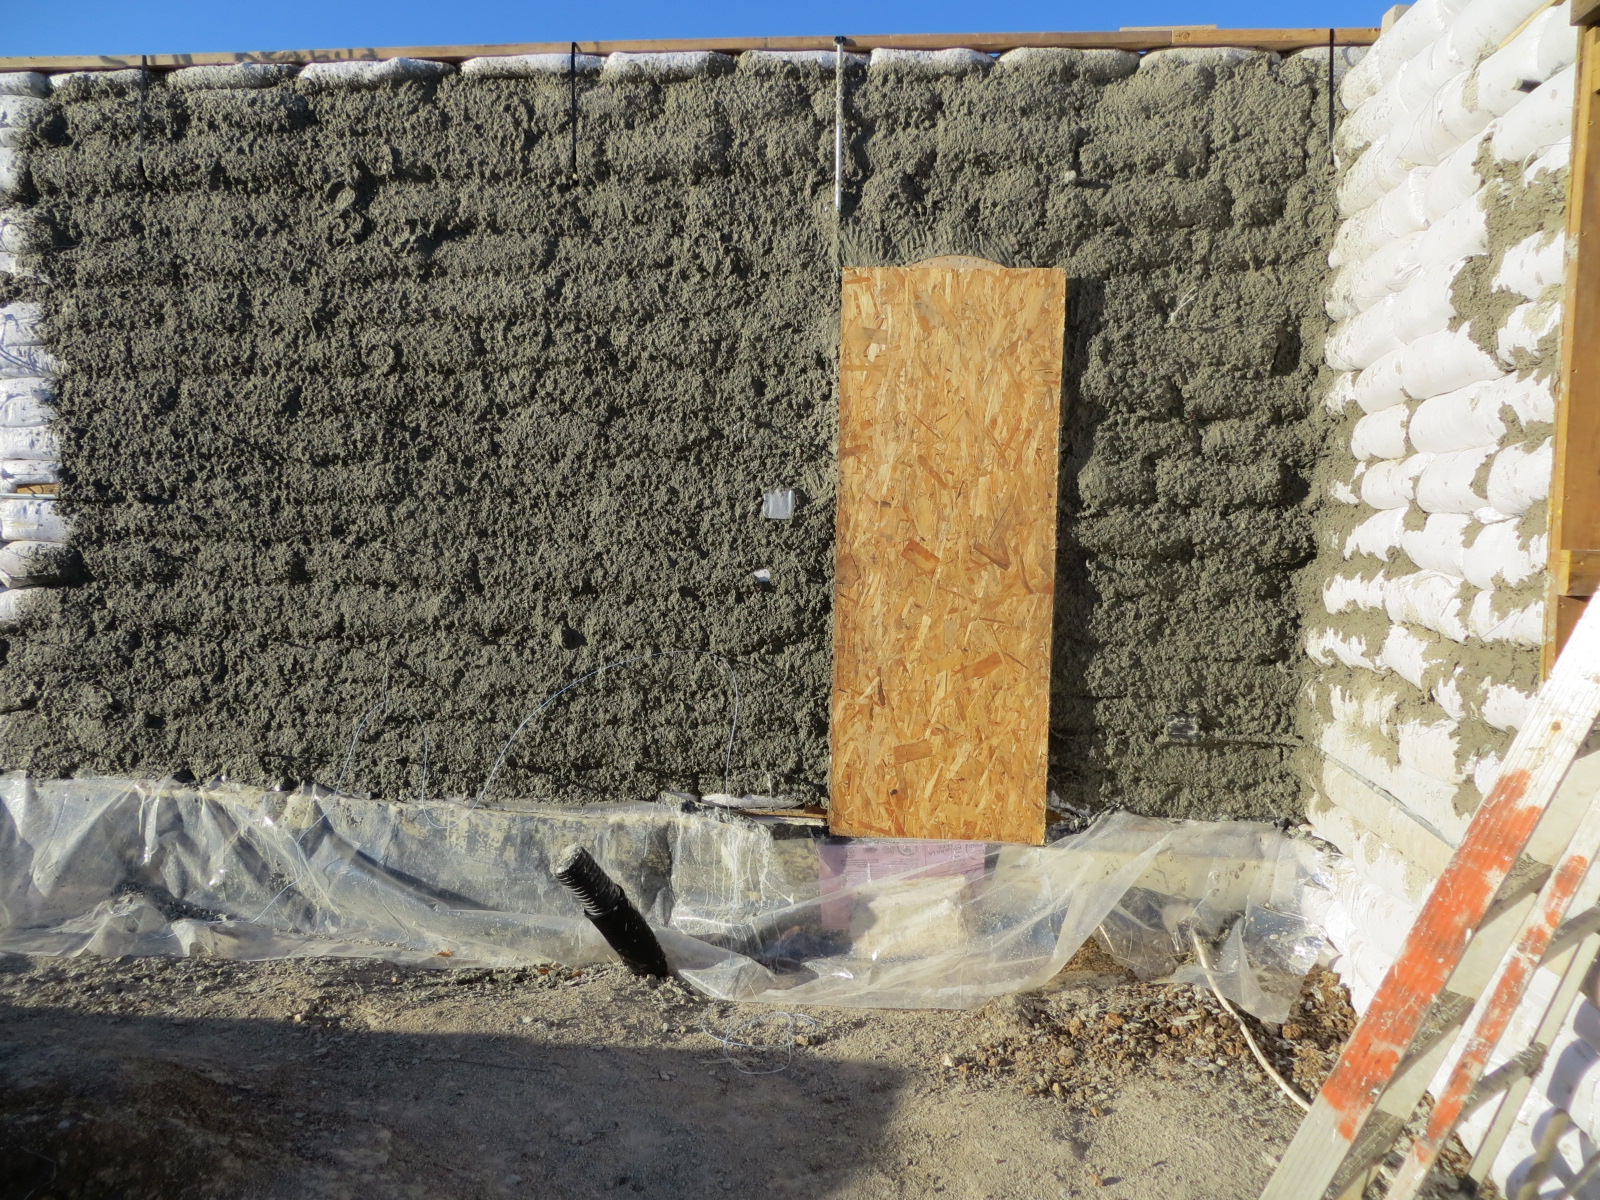
The walls of the main part of the house came to a halt around 4 feet off the ground. We directed some of the labor toward papercrete, coating the walls to provide a protective cover for the polypropylene bags. Papercrete is not an adequate outer layer for the house for long-term, but we hope it provides a good short-term protection for the walls until we can finish them properly and apply a lime plaster.
Racing Against Winter
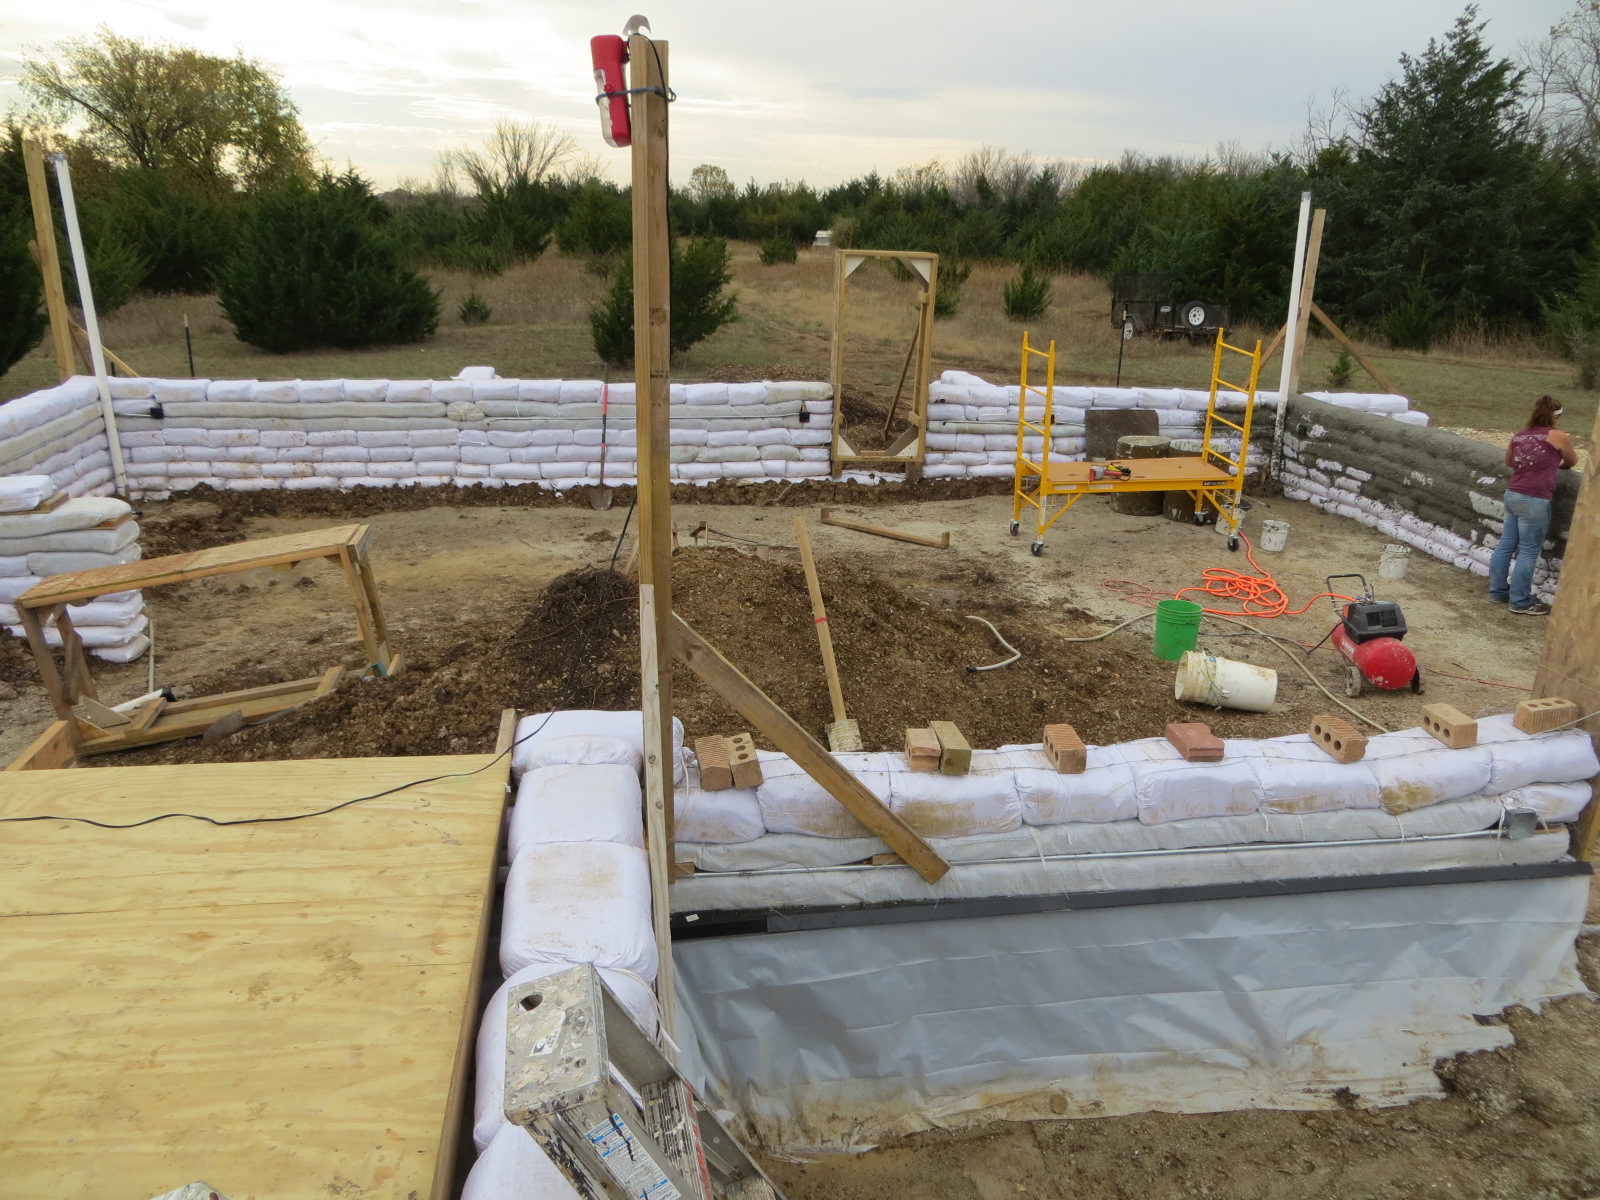
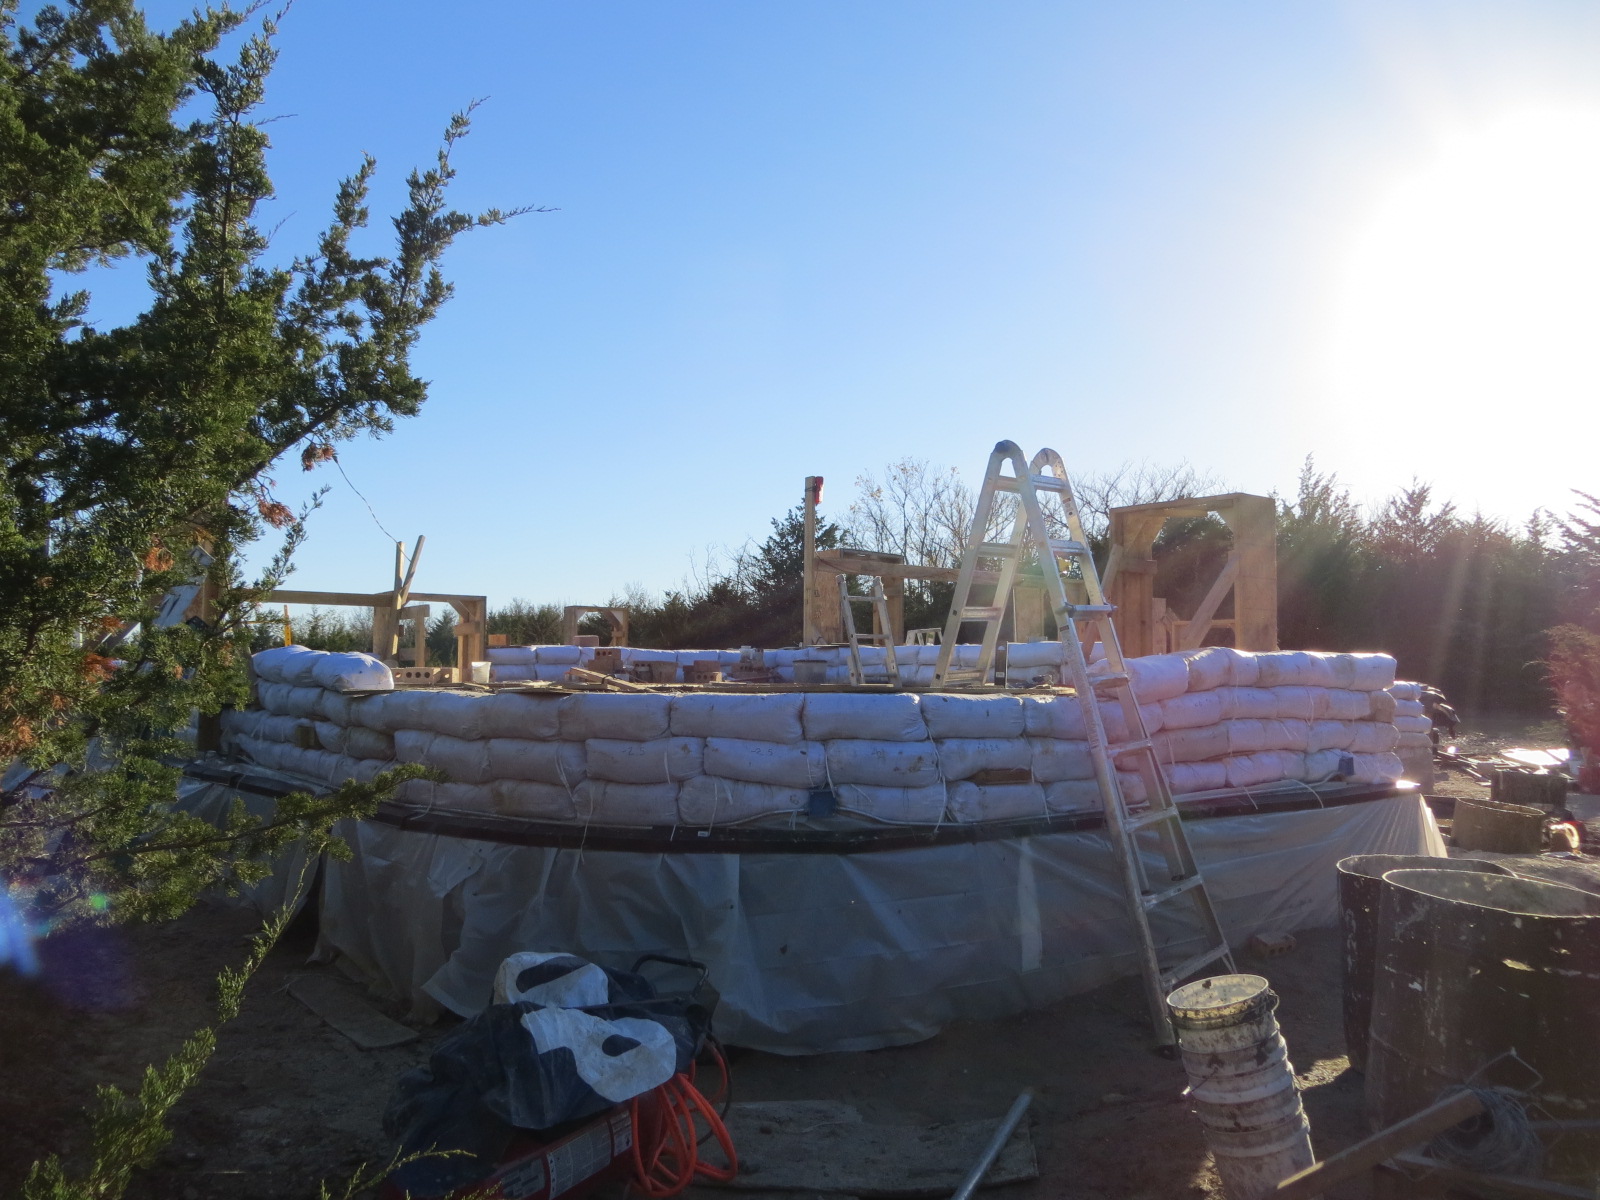
Our remaining forces tackled the walls of the cistern and utility room, bringing them up a foot or two each day in a race against winter.

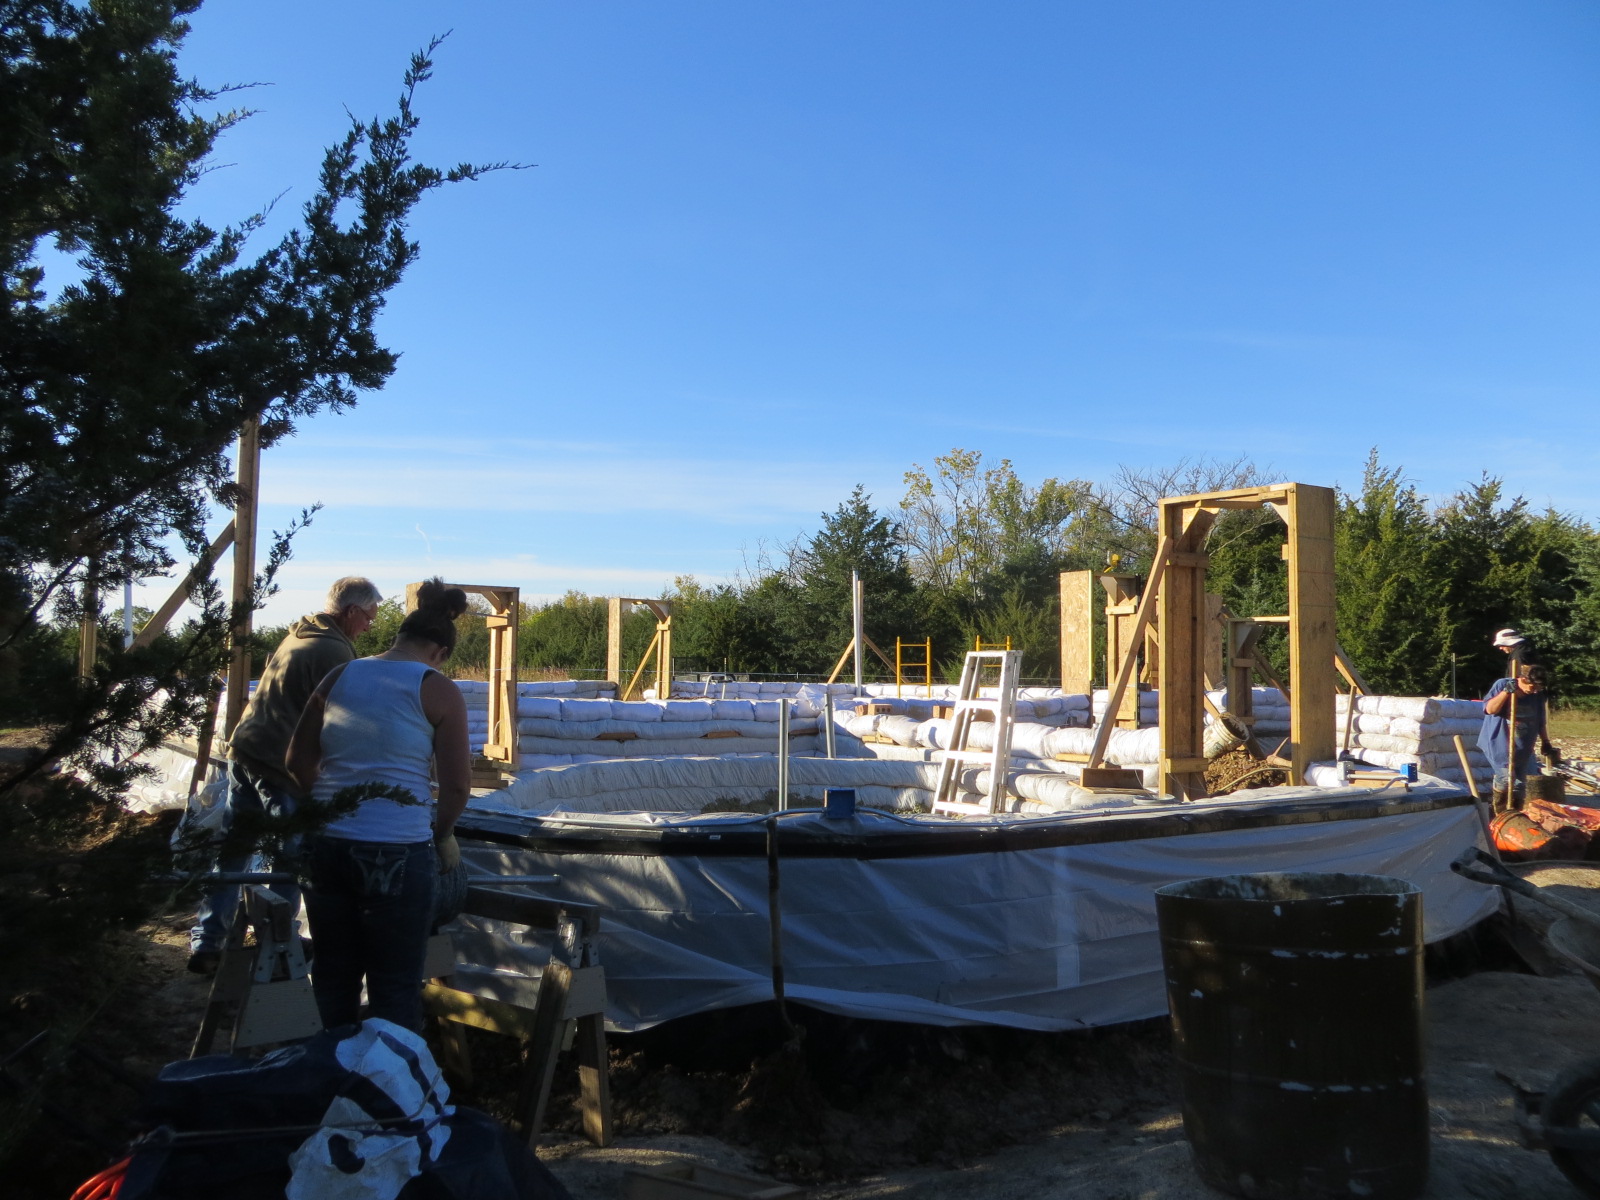
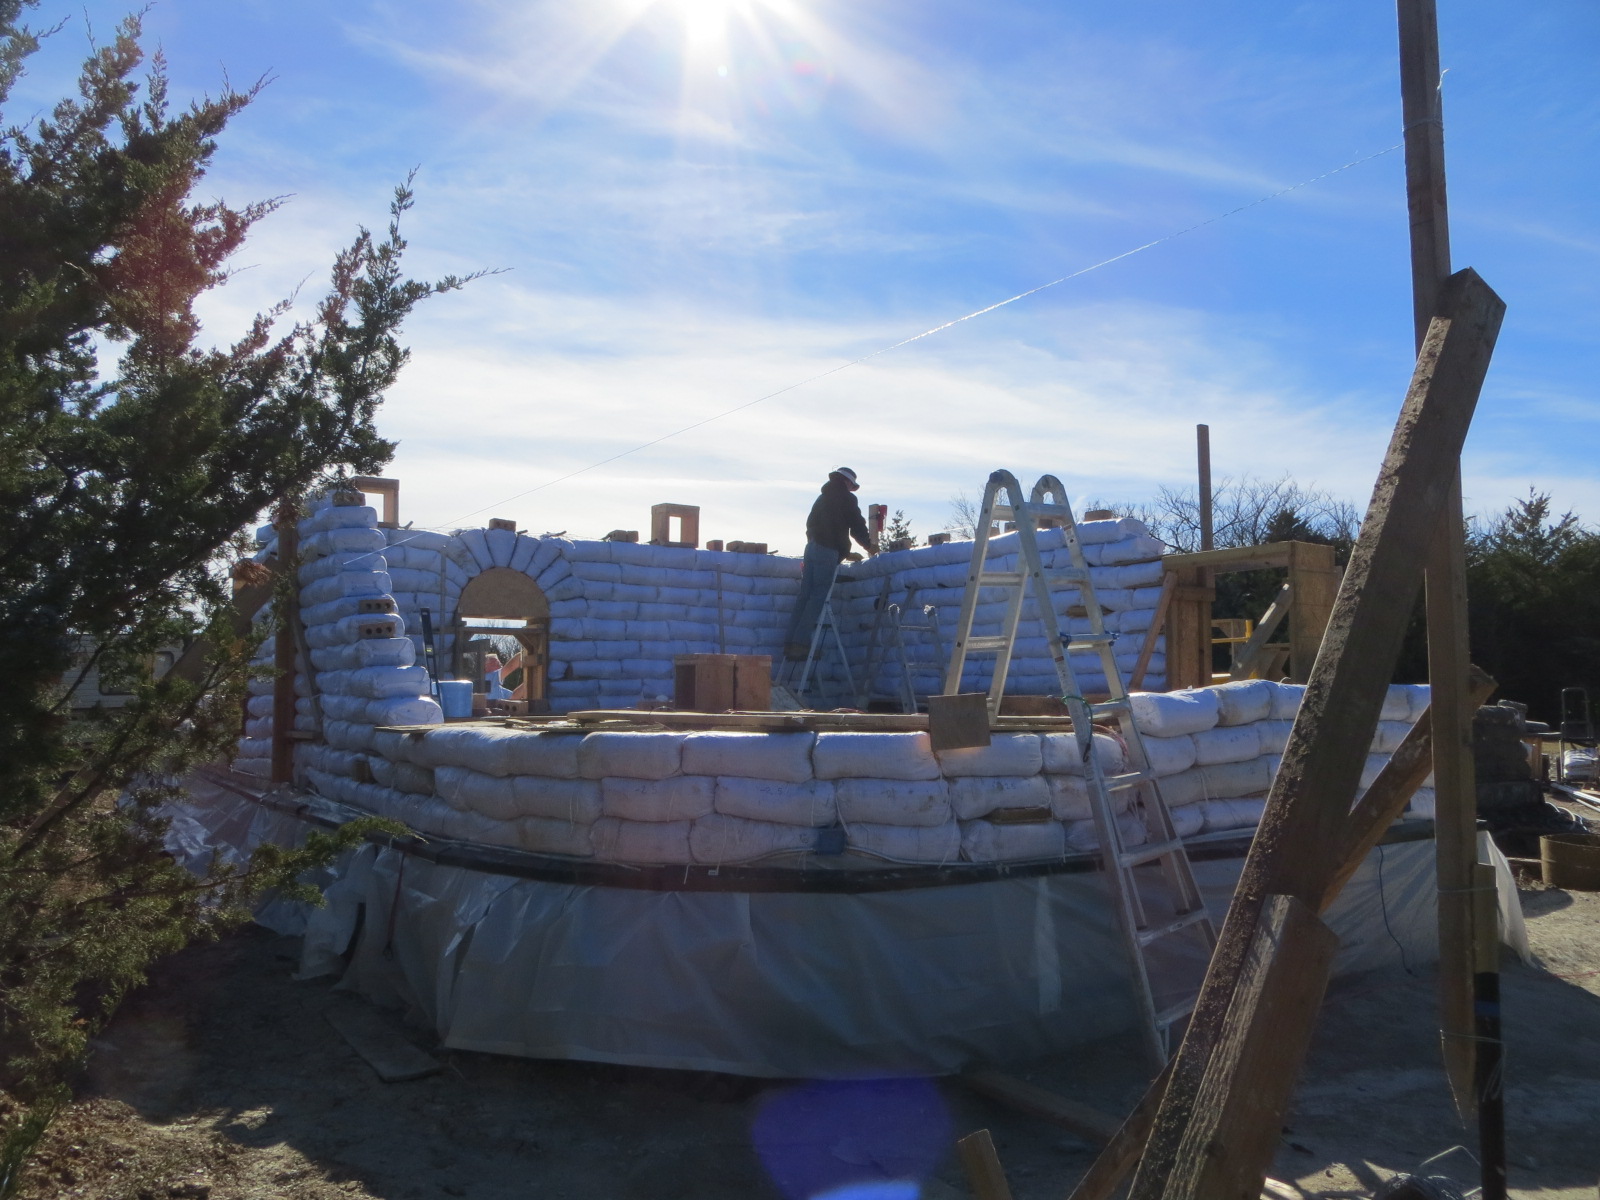
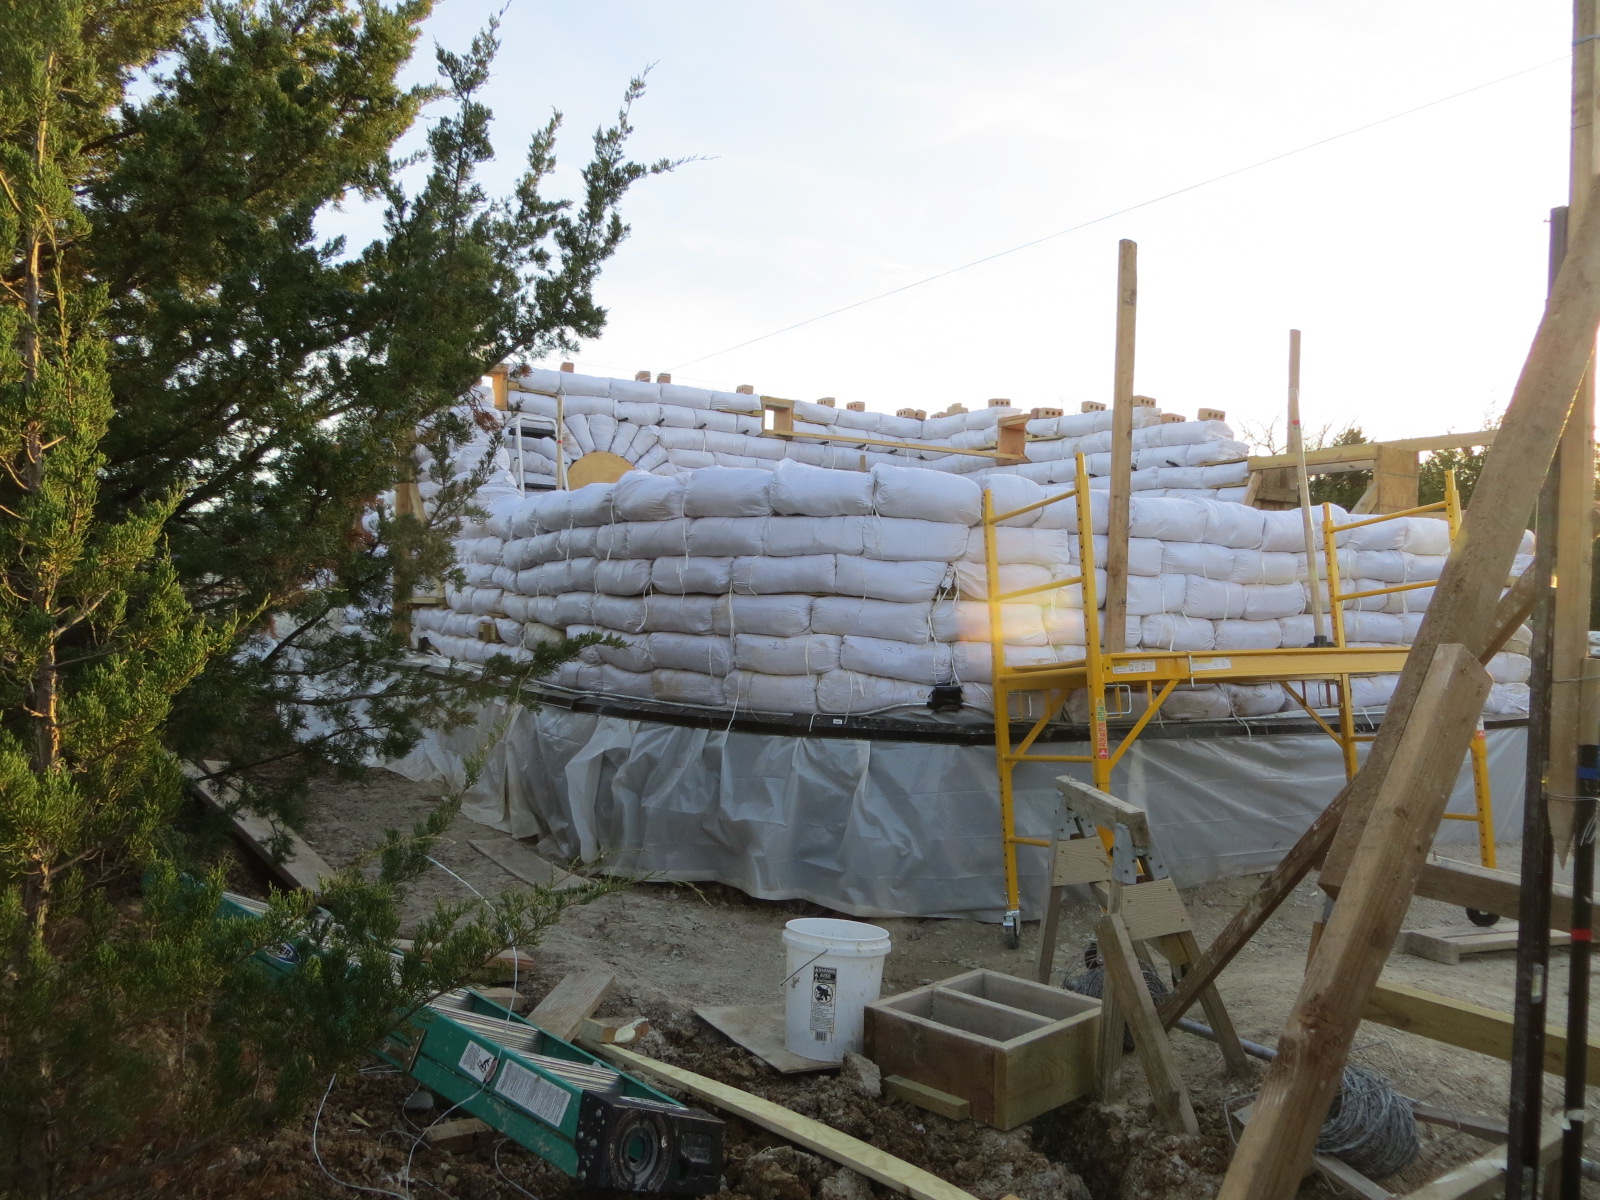
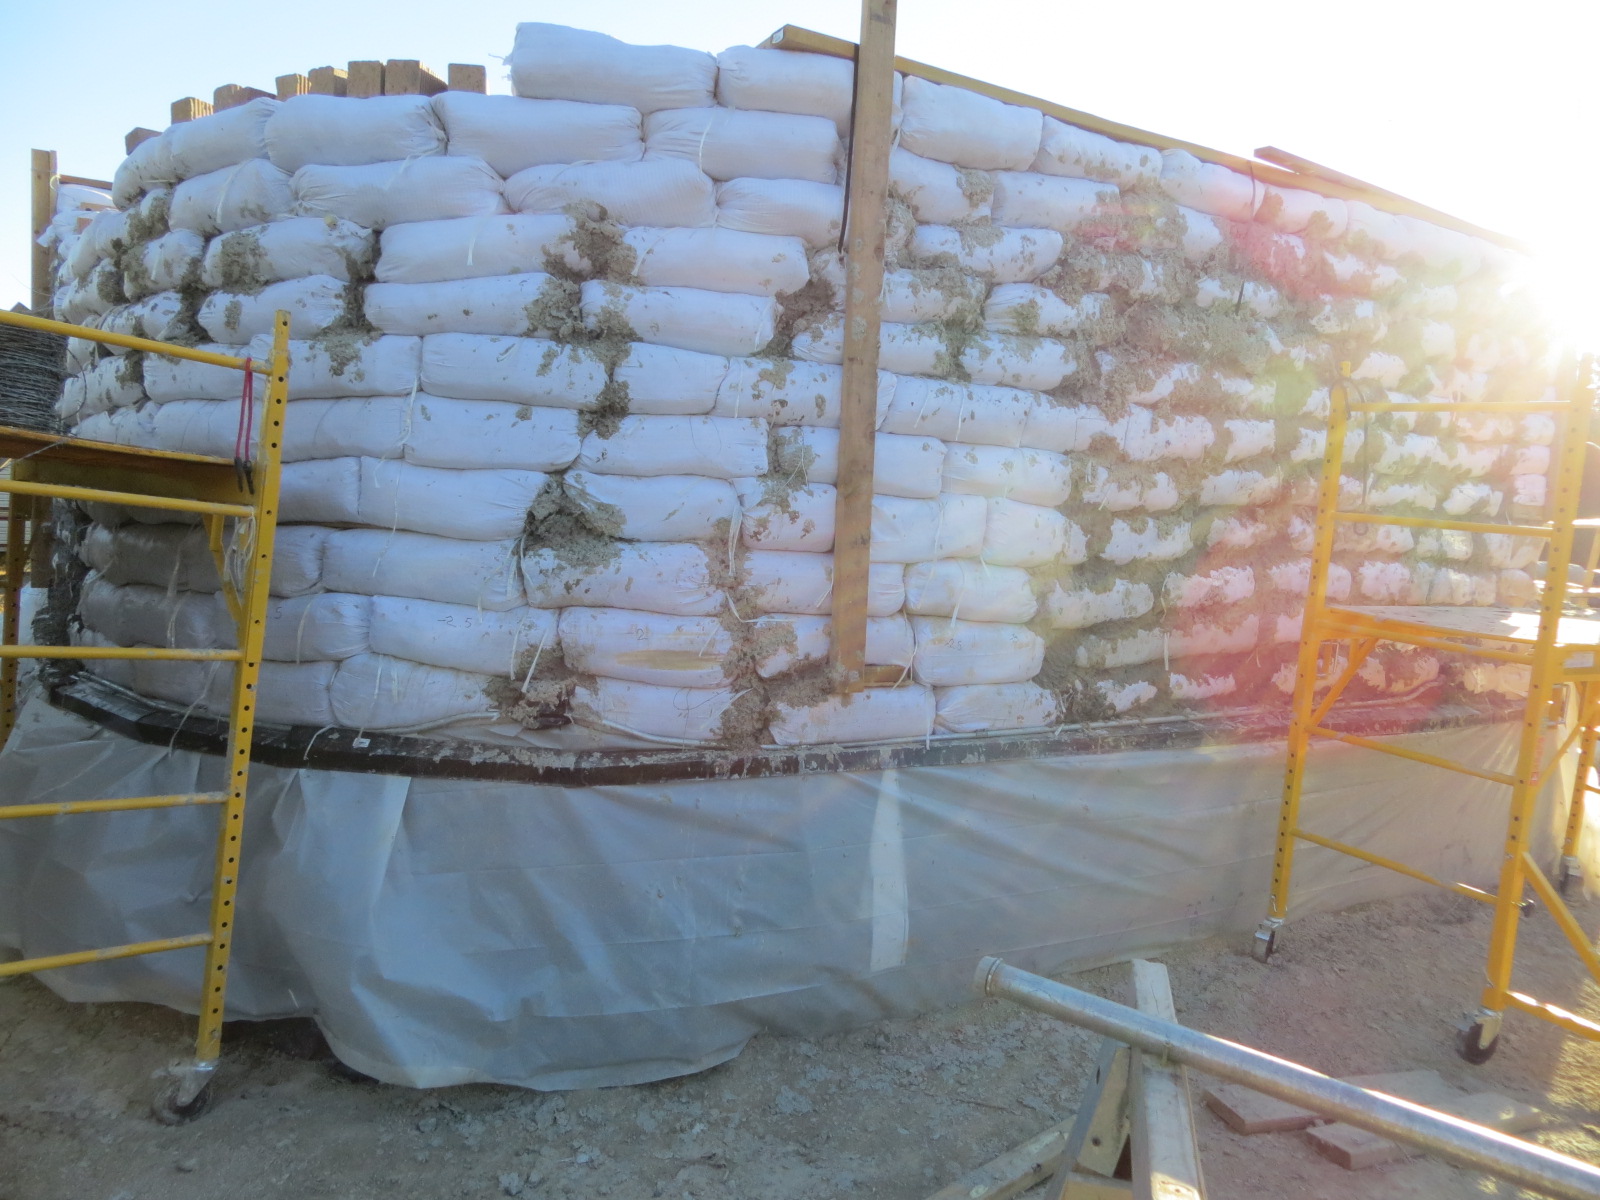
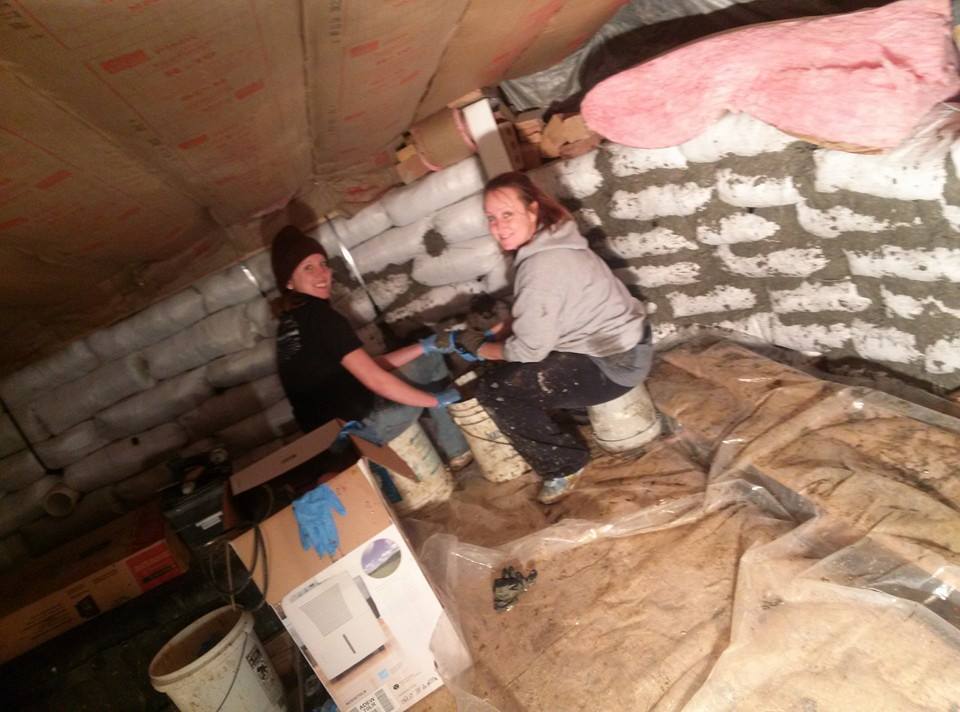
During the final week before the first freezing storm was forecast, we had our helpers working extra hours to get the walls high enough to put a roof over the utility room. I bundled up and spent many hours working the mud pits as fast as I could, while the guys filled bags and stacked them higher and higher on the walls. The papercreters came along behind the builders, sealing all the cracks and adding a small layer of insulation to the wall.
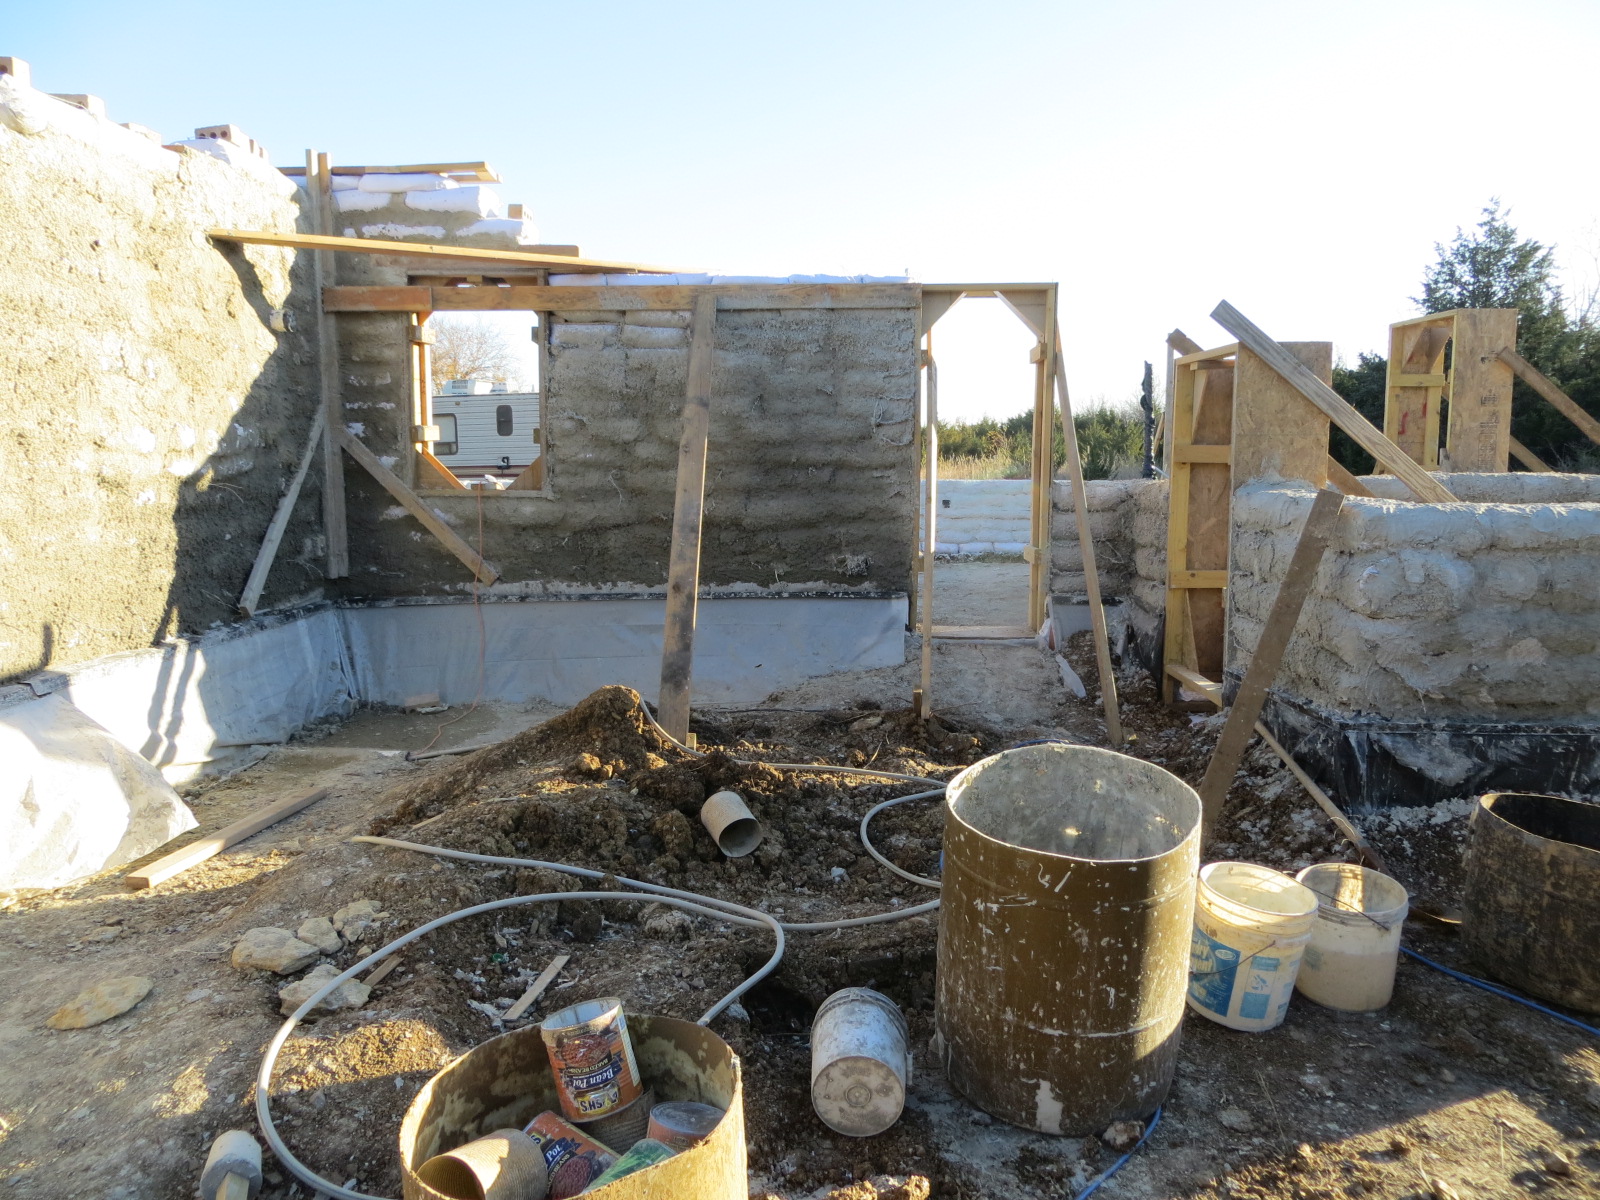
We were able to complete all but a short section of the utility room walls before the freezing weather hit. Fortunately, we completed enough for Keith to start on the roof.
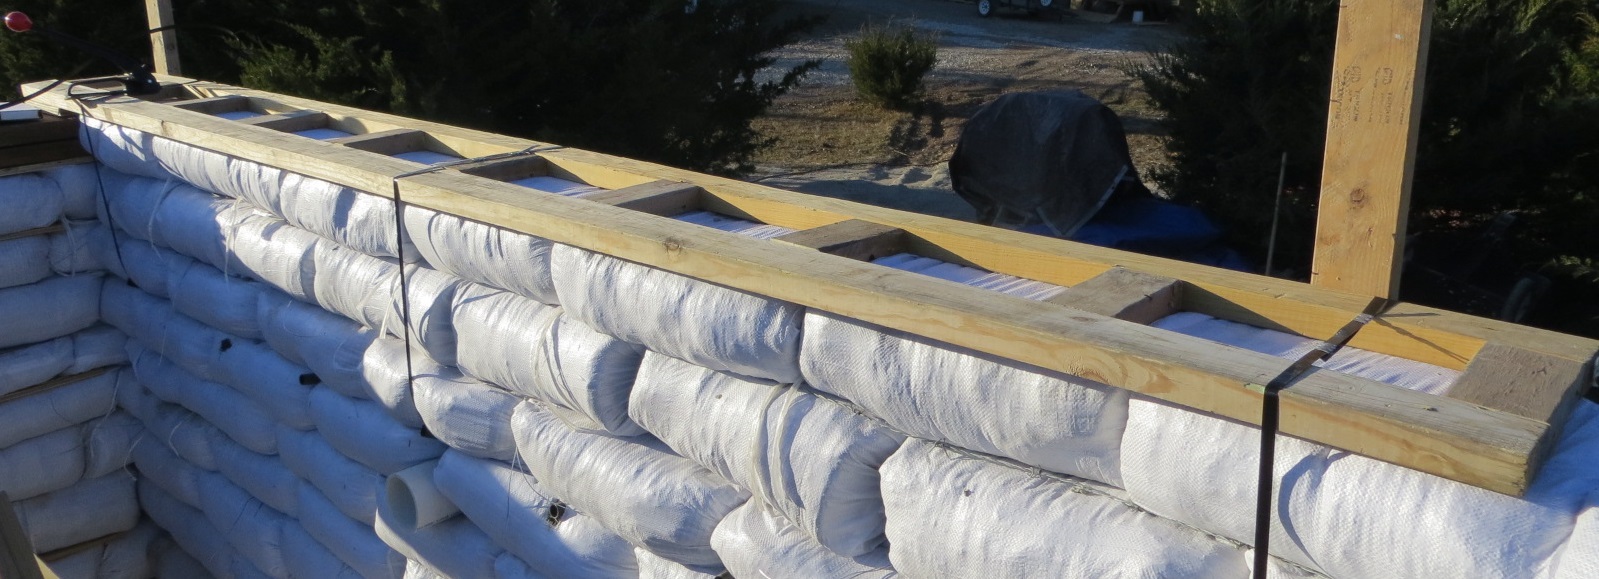
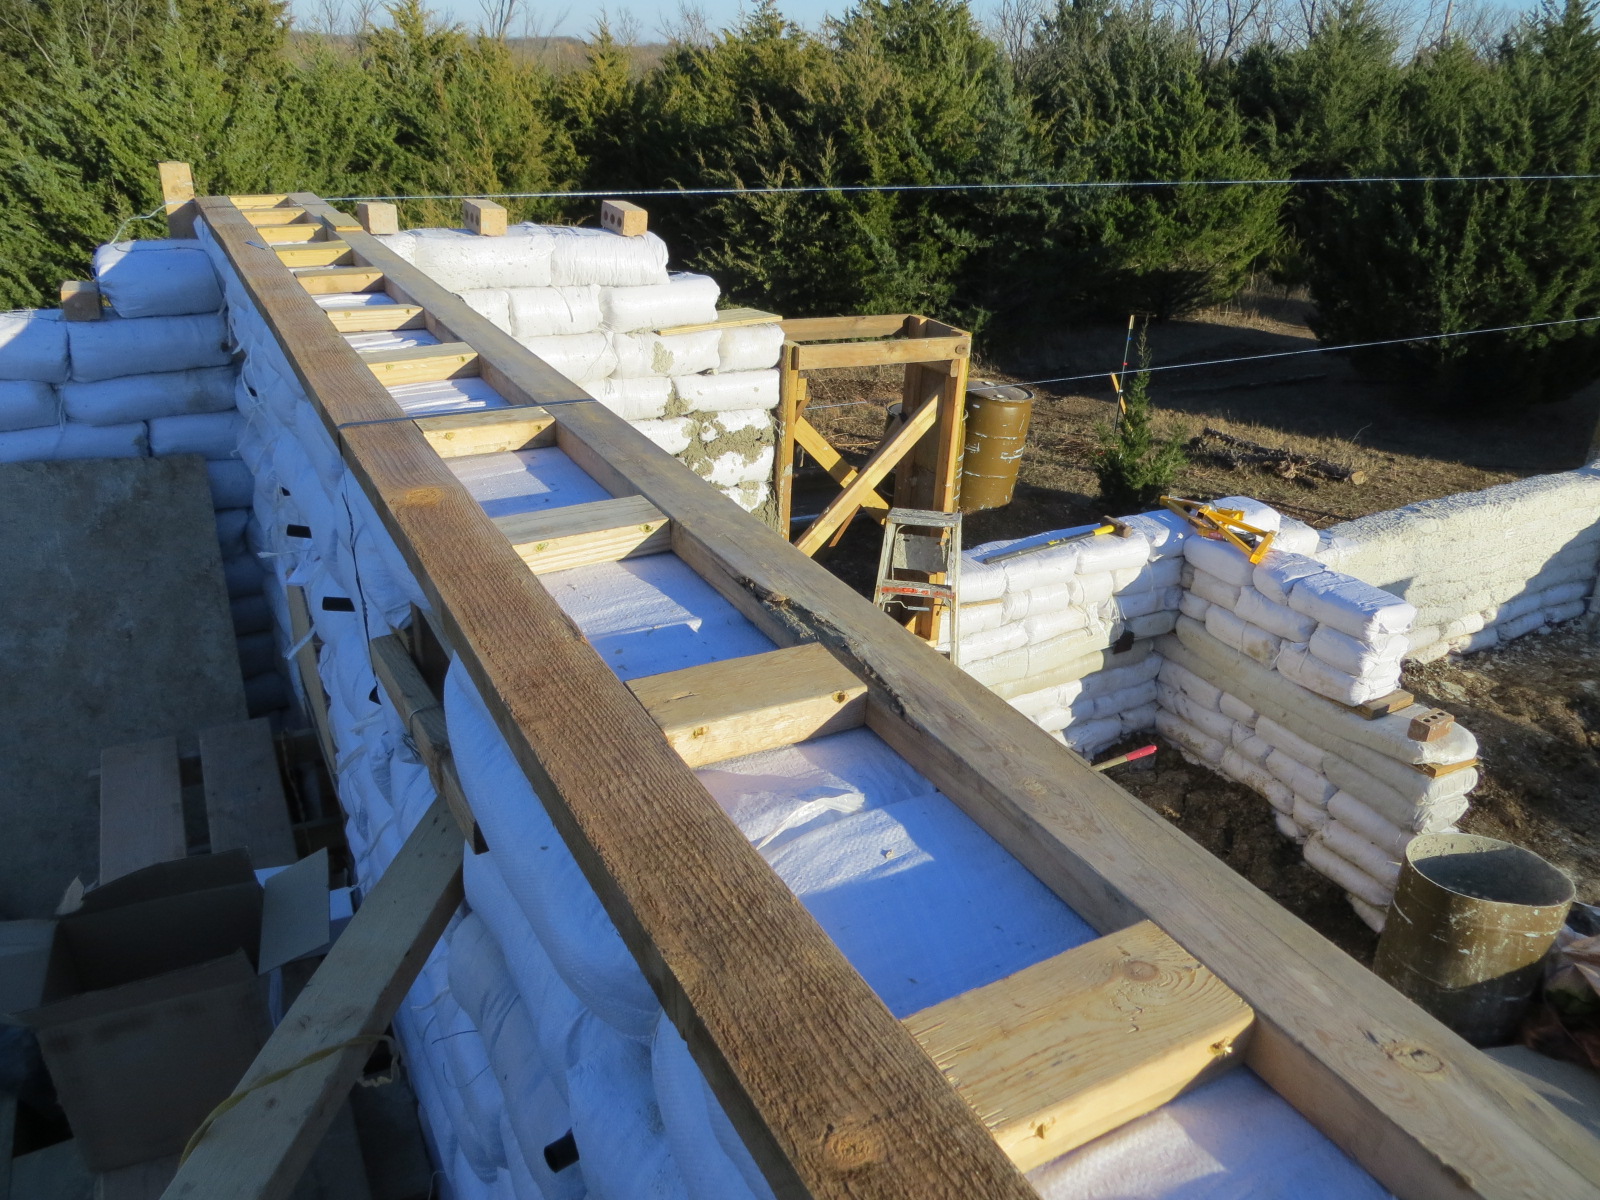
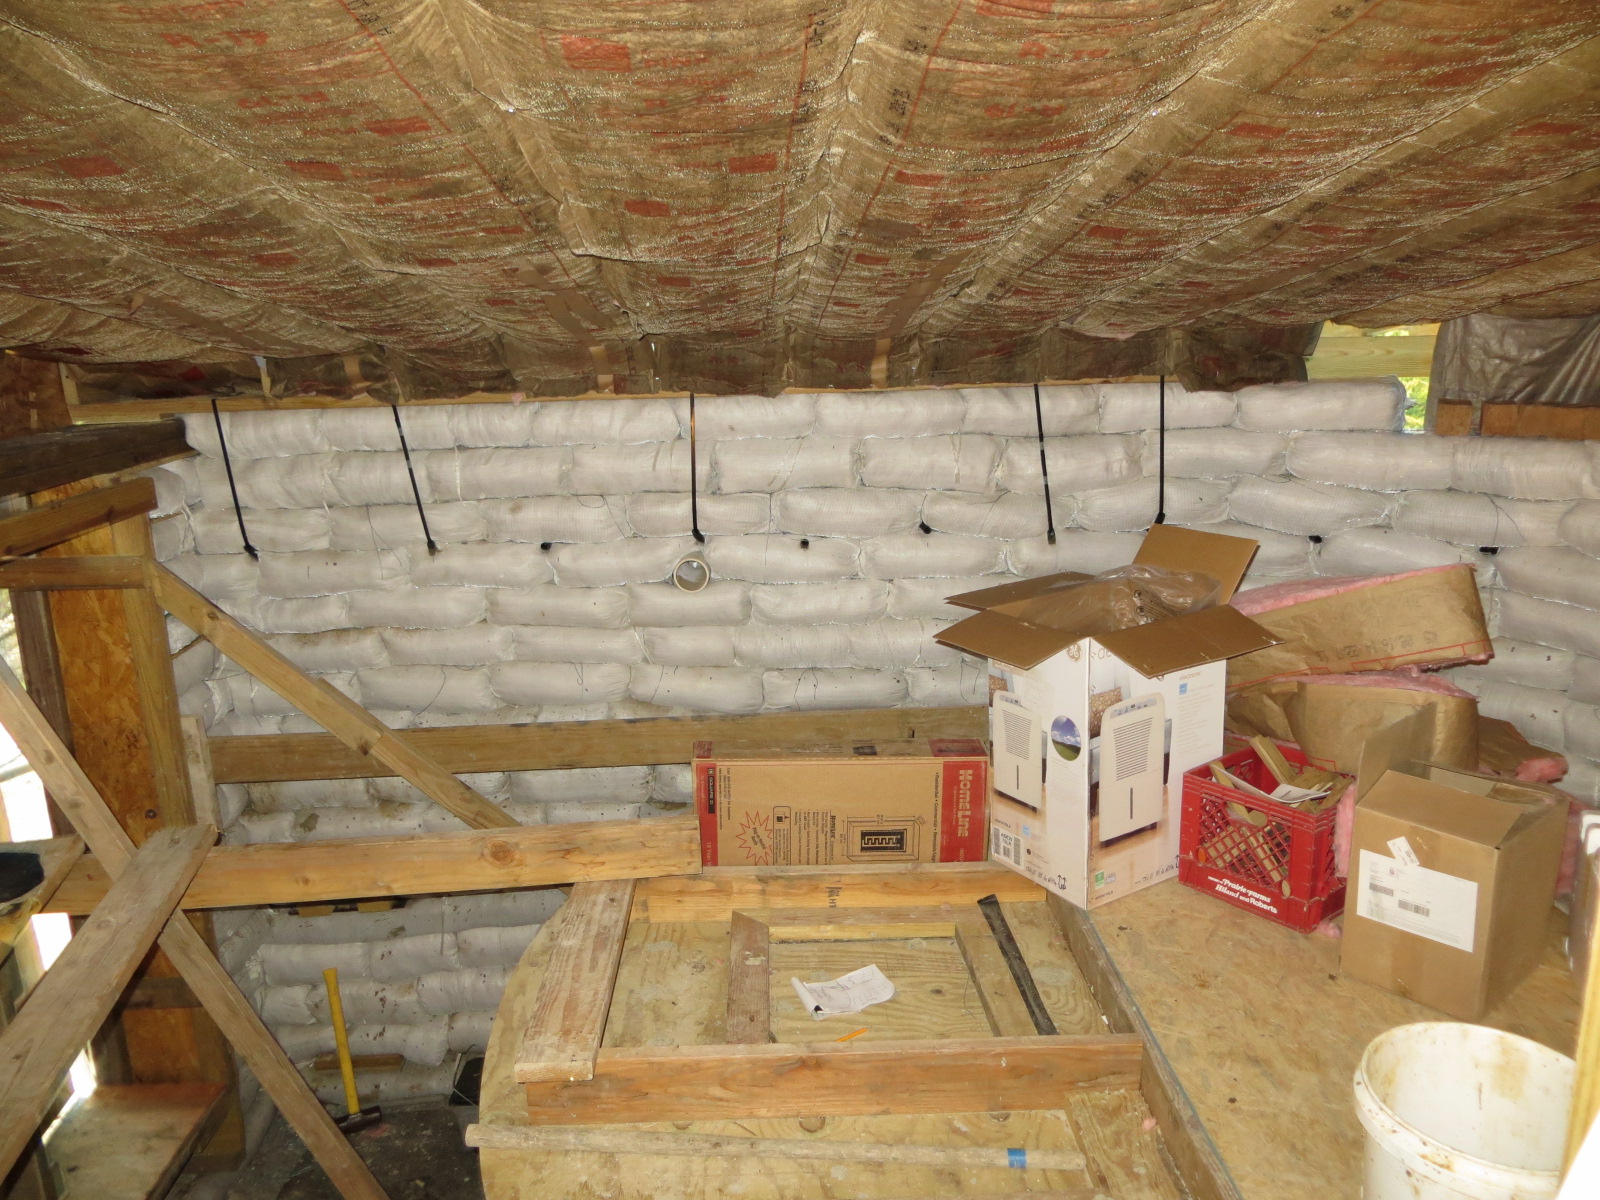
The Roof
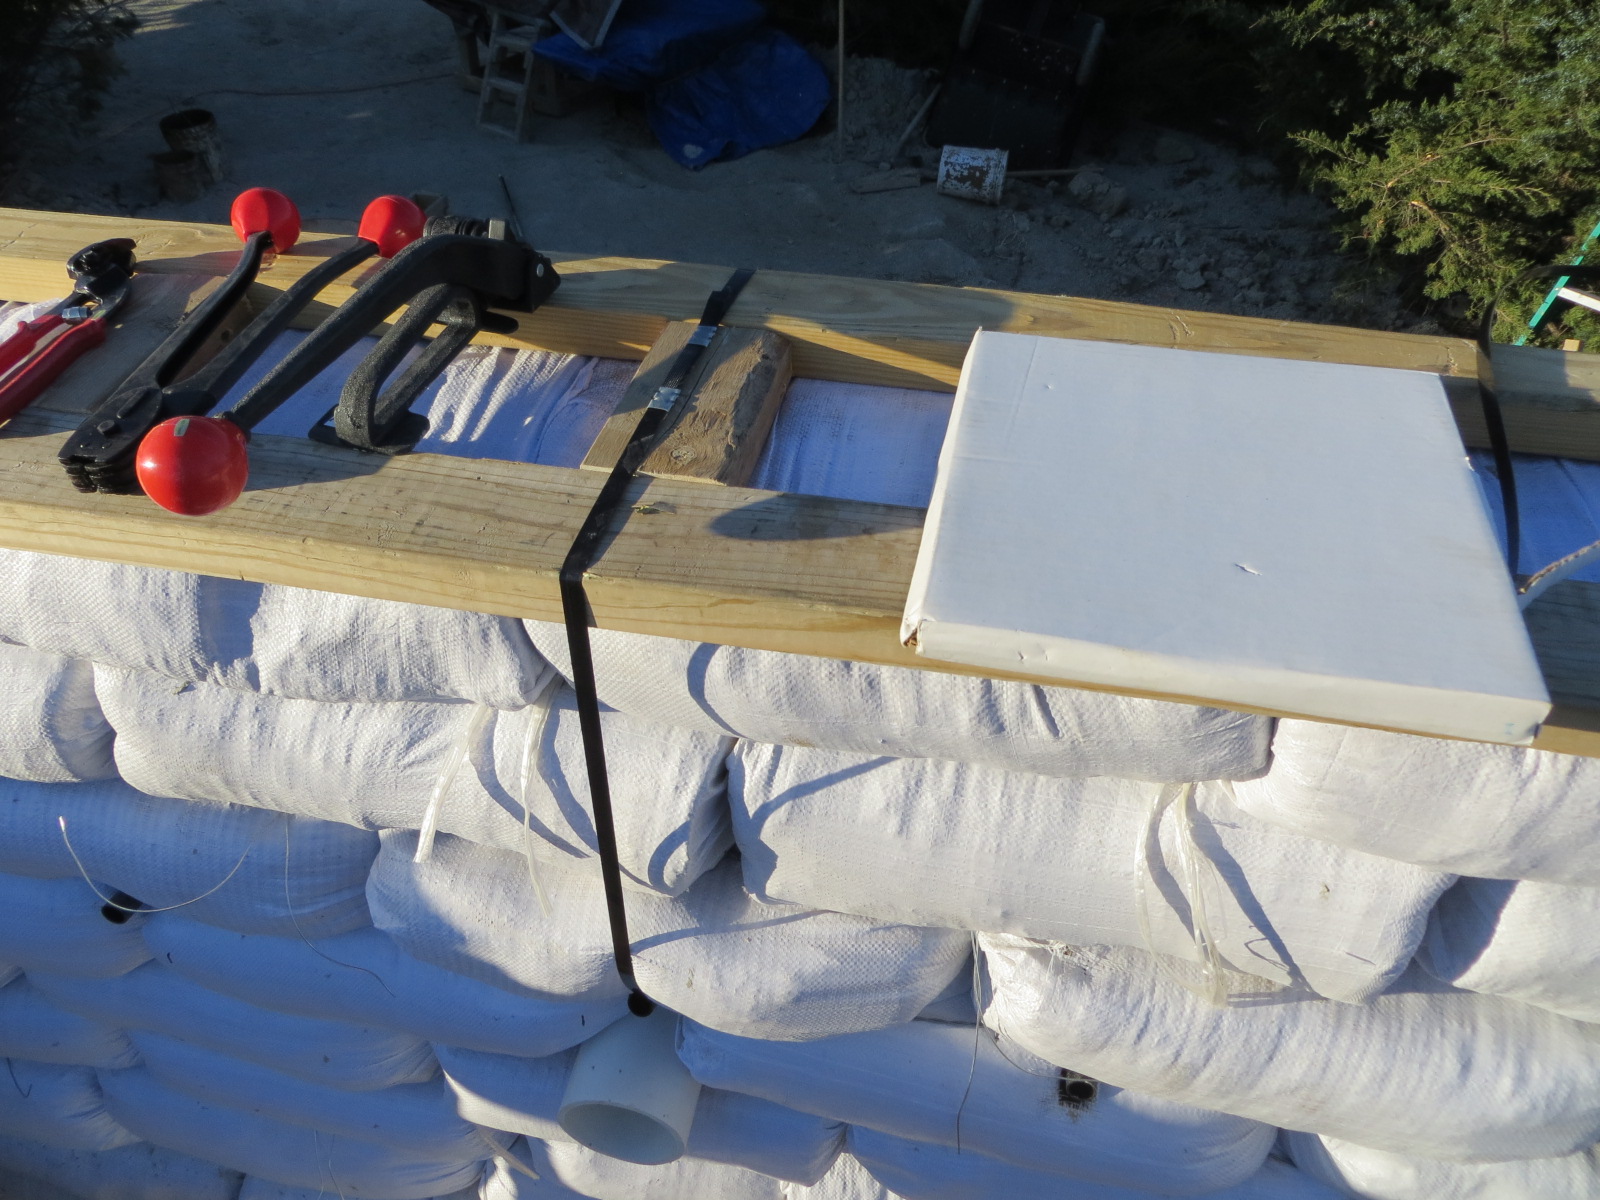
To install the roof, Keith put some tubing on the walls a few layers before the top. He constructed a wood frame called a “Jacob’s Ladder” to which the roof would be attached. Then he threaded some steel binding through the tubes and over the ladder to hold it down.
Next came the roof beams, then the plywood.
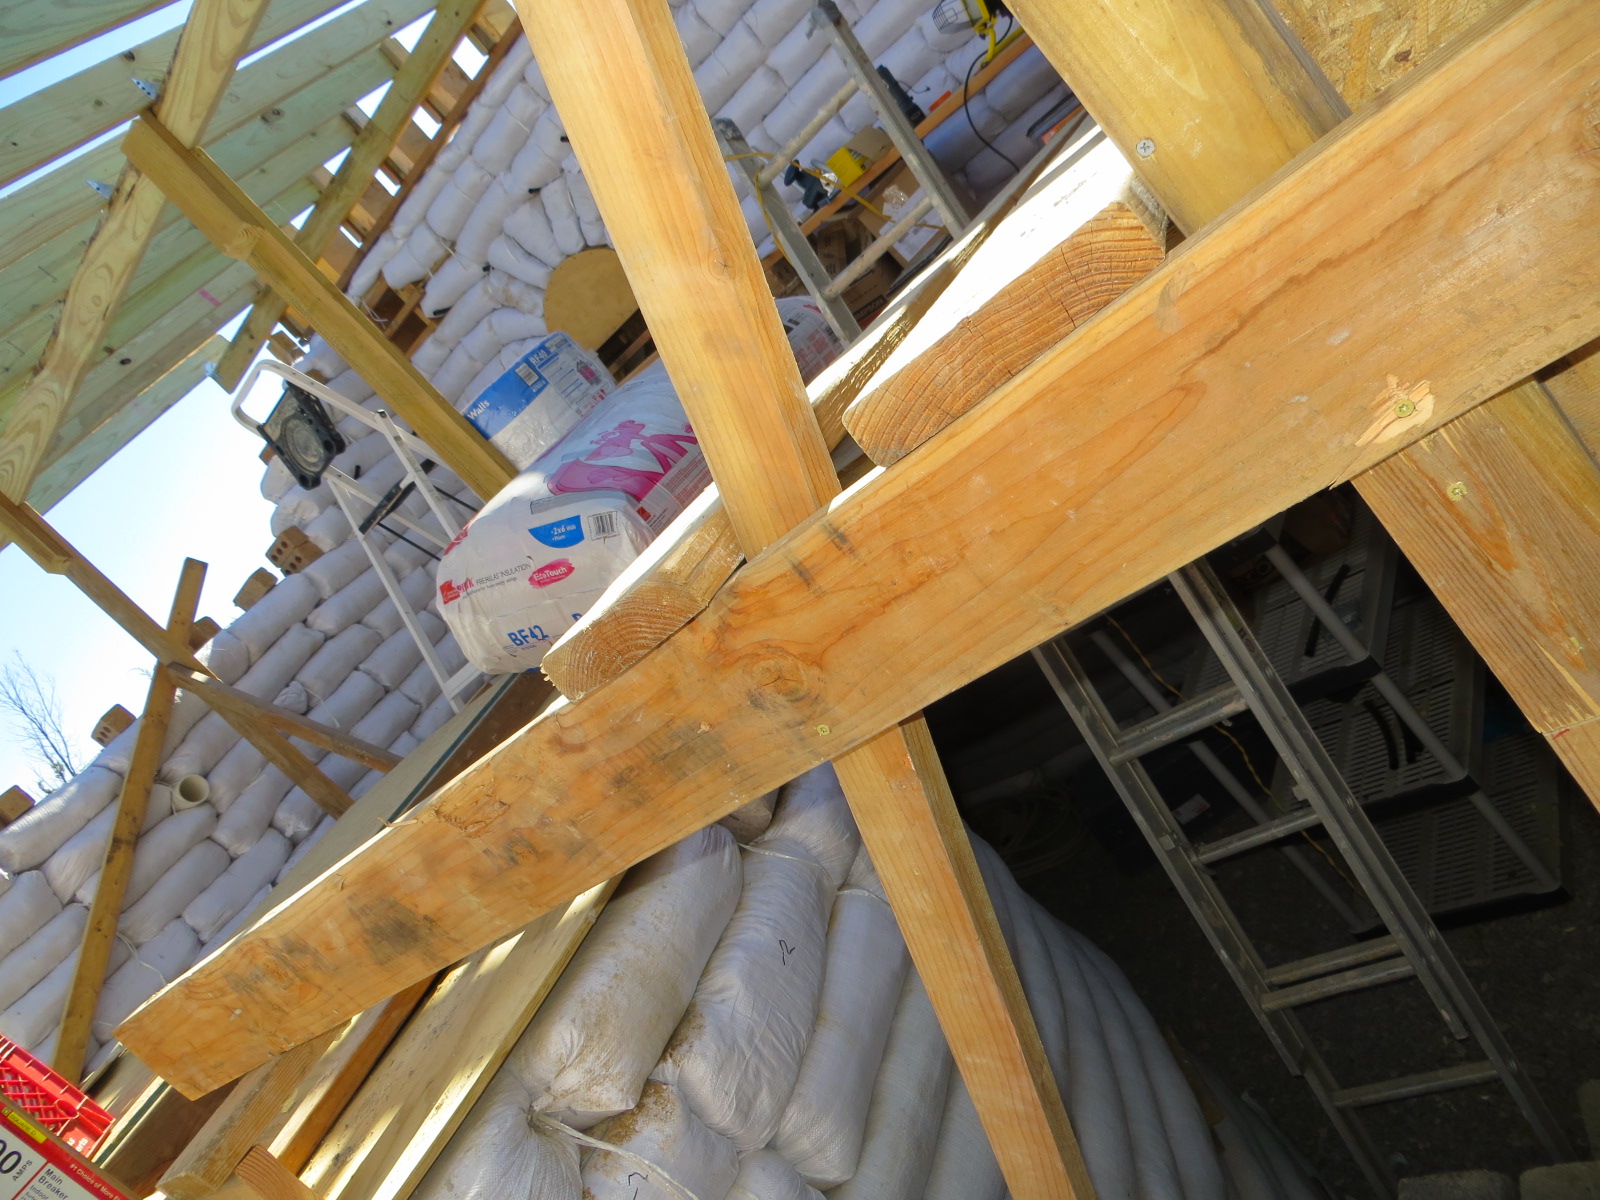
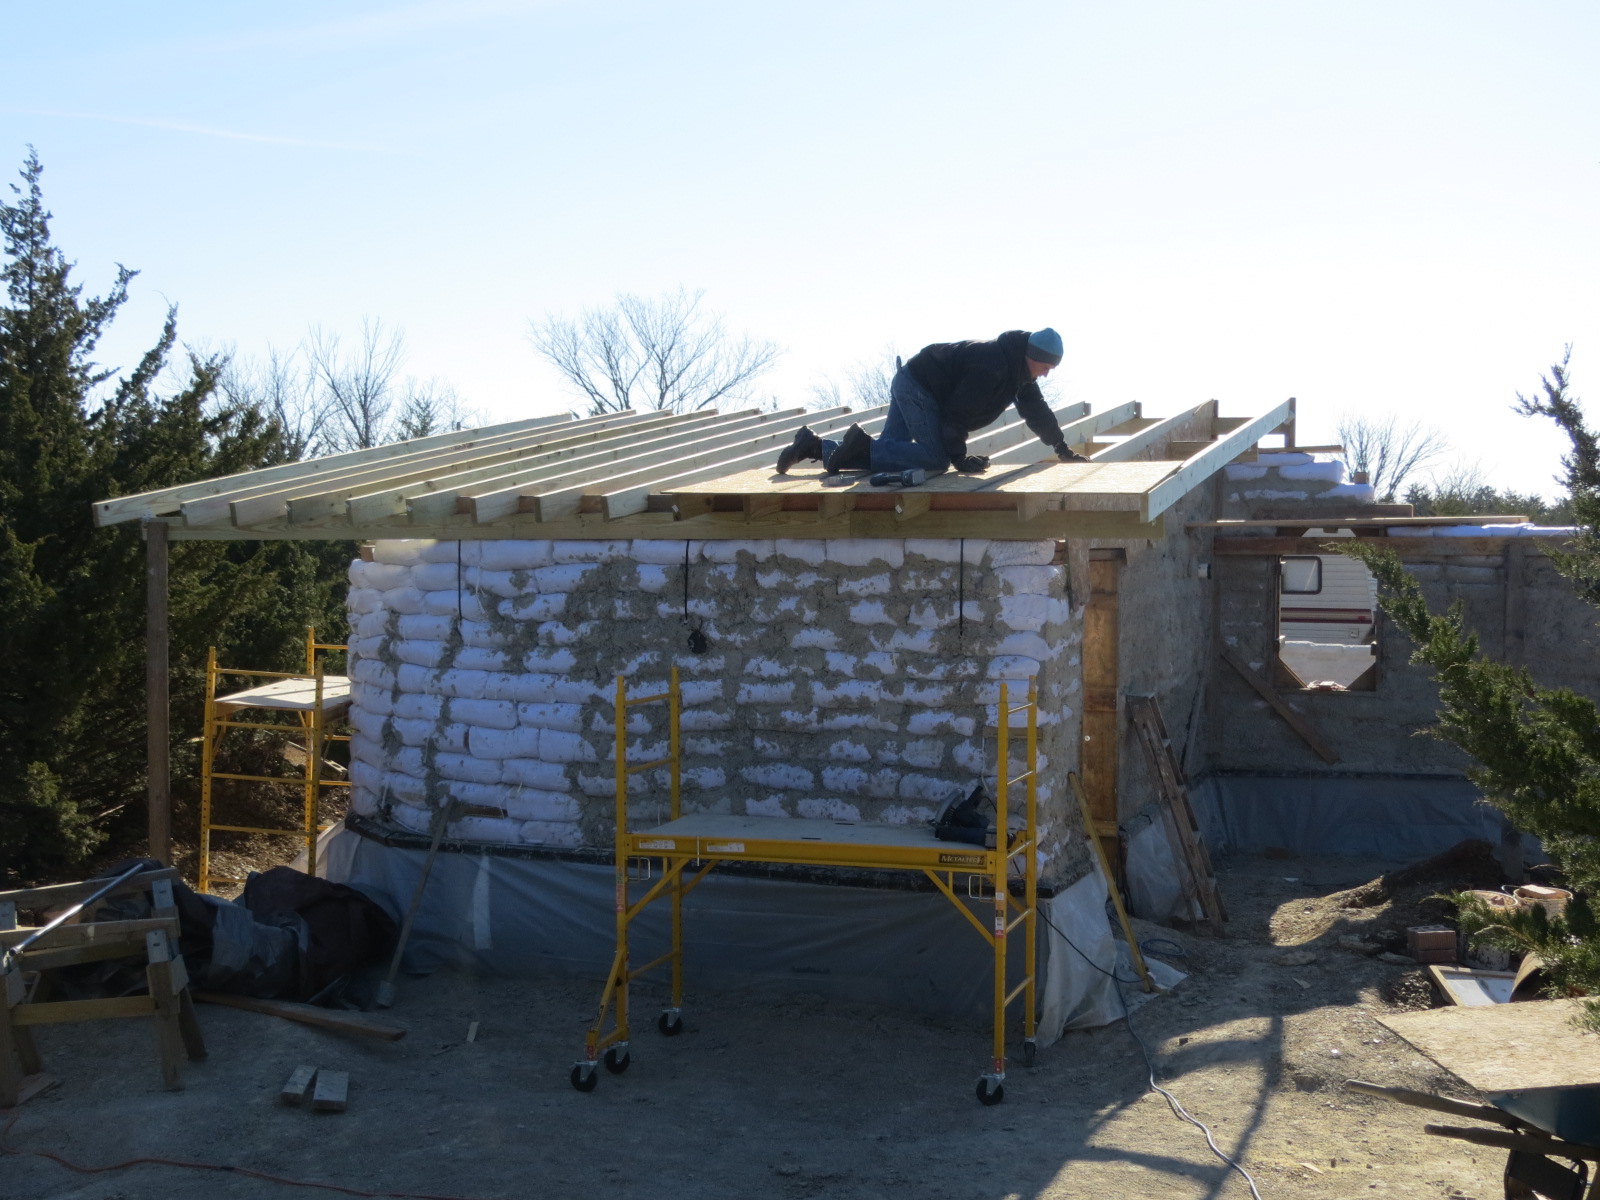
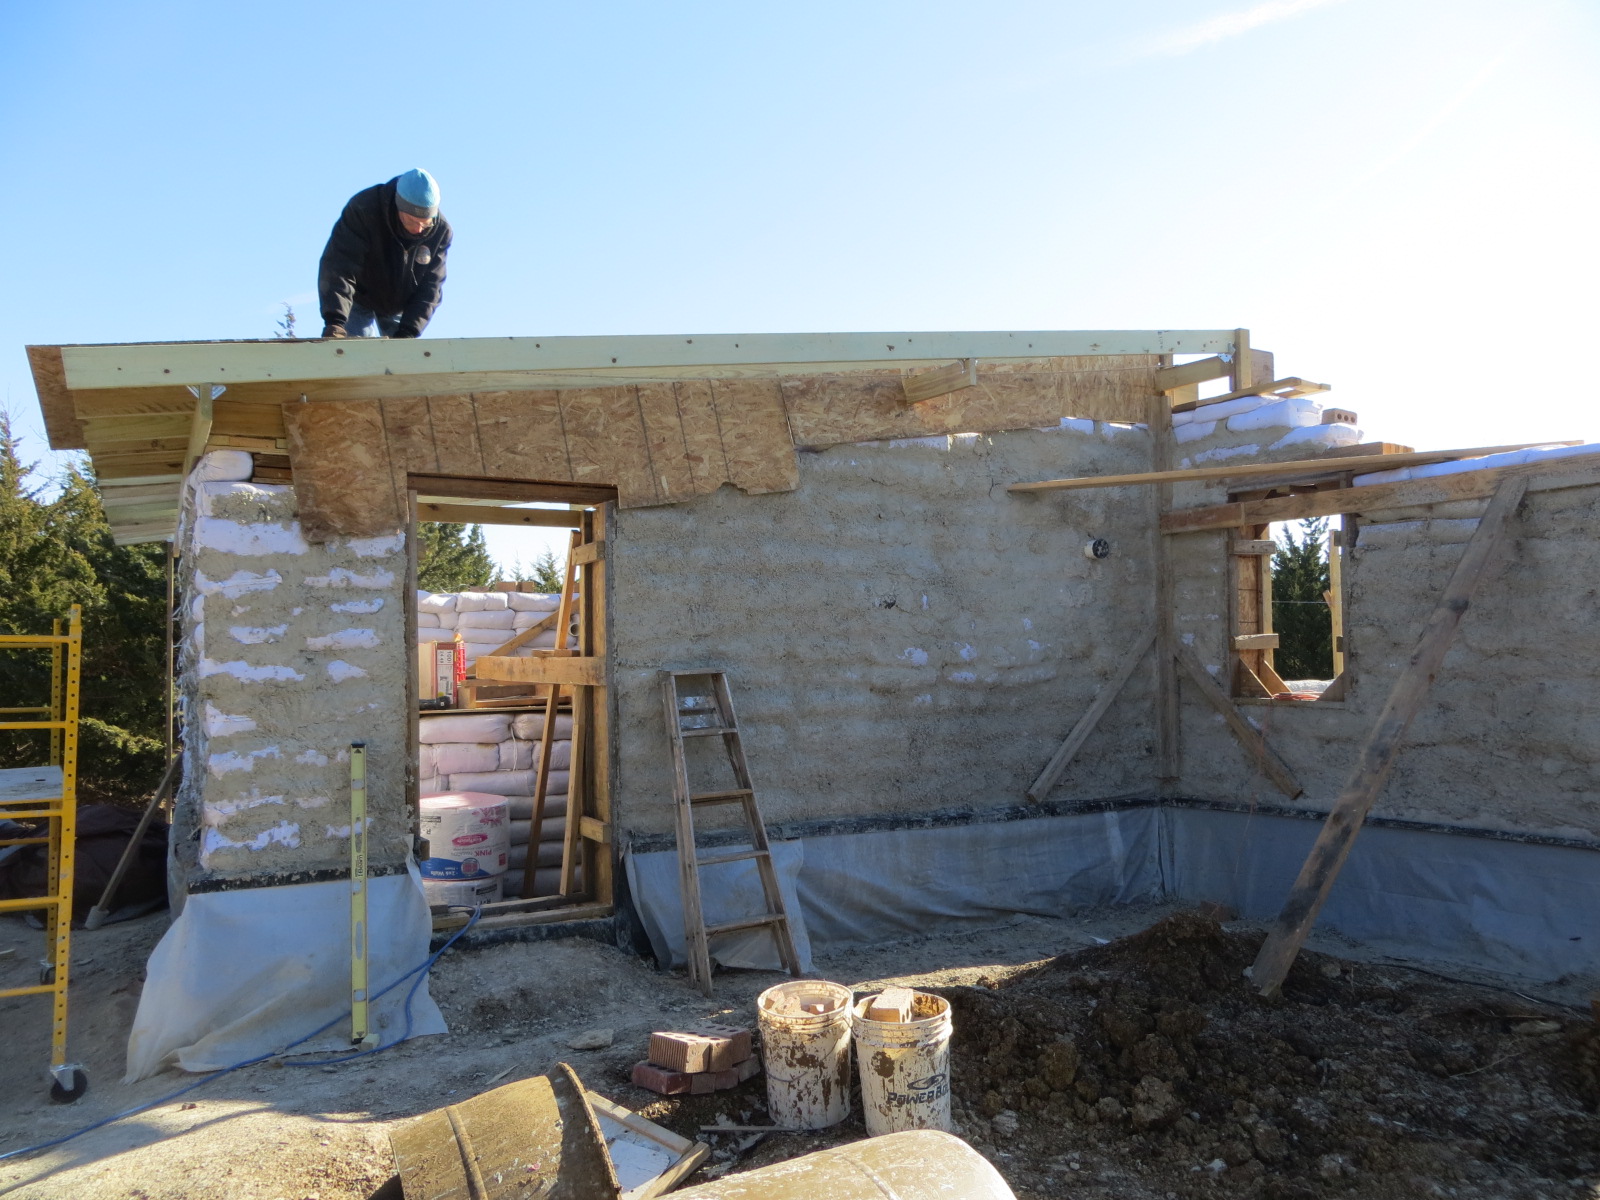
With the weather turning cold, Thanksgiving plans around the corner and no time left, Keith spent the last days insulating the roof, covering it and the remaining gap in the wall with tarps, cleaning up the work site and hoping for the best.
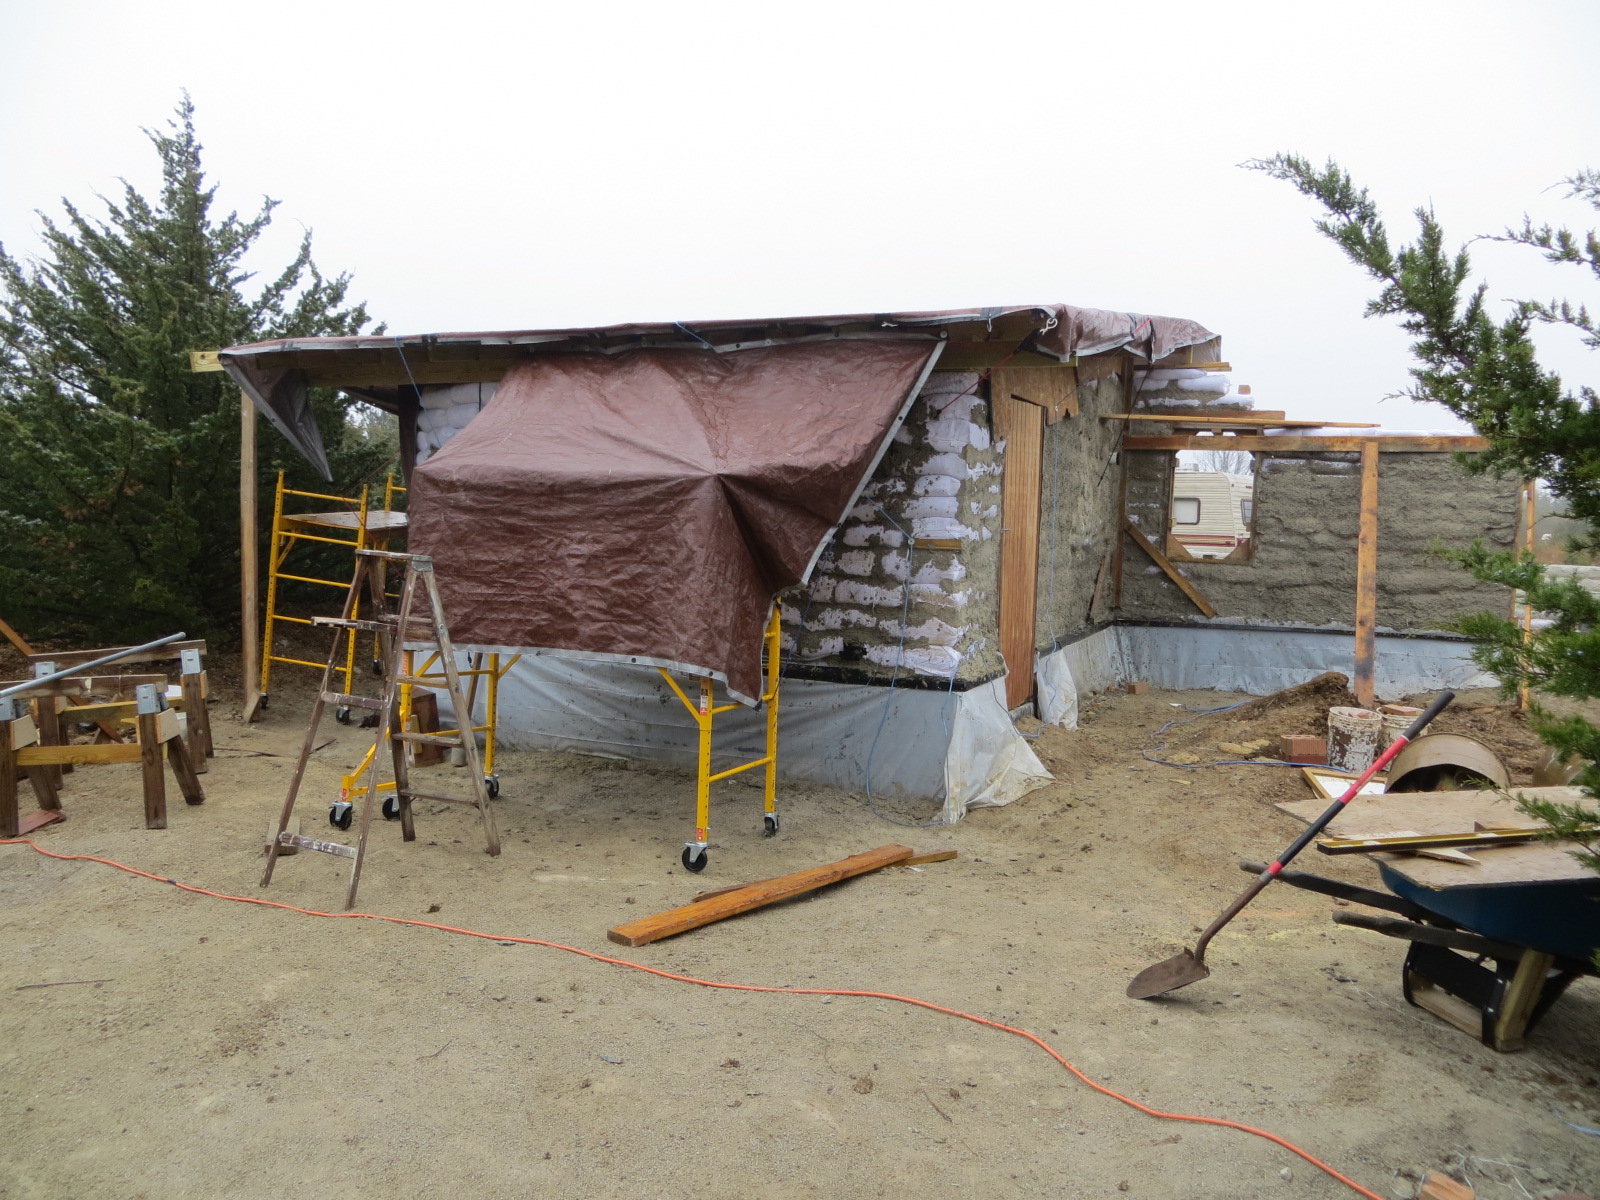
And that’s pretty much where the project stands! We were able to put in the infrastructure for the utilities, finish the rainwater cistern, nearly finish the walls of the utility room and put a roof over it, and build the rest of the walls of the house up to about 4 feet.
Here’s a time-lapse video showing our building project from April to November of 2014. The first half of the video shows the front of the house, and the second half shows the back.
This winter, Lee and the rest of the family in Kansas have been working on covering the interior of the utility room with papercrete.
Now that some of the more complex work is done, the remaining walls and roof should go up relatively fast when we return this summer!
What’s Next?
We’re working on finding someone to put in a septic tank as soon as possible. We plan to return to the project in July and have the house finished enough to move into by October.
We’ll finish the walls, have a roof put on, and put an earthen floor inside. We’ll install the main fixtures and appliances and hook up the plumbing and electricity. It’s taking more time and money than we thought it would, but we still believe the end product will be a unique, beautiful, and extremely energy efficient home that we can be proud of!
We’d love to take this opportunity to teach others about the process of earthbag building and share what we’ve learned. I’ll probably look into advertising our build on WWOOFing, HelpX and/or The POOSH in order to reach people interested in volunteering their time and help on these sorts of projects in exchange for free accommodation, food, and an education in earthbag building techniques. If you’re interested, please contact me and let me know!
Meanwhile, I do plan to continue documenting the process right here on the blog, so stay tuned. I send out a short weekly letter announcing blog updates and including personal little tidbits and stories that I don’t always share on my public blog, so be sure to enter your email below and sign up if you’re not on my list already!
Do you have any questions or comments about our earthbag house project? Don’t be shy—share it in the comments below!
Enter your name and email to receive my newsletter and stay up to date!
We hate spam as much as you. Your email is safe with us.